Friday, March 22, 2013

Chives

This is why I think chives are awesome:

  • first edible plant to come up in the spring, so welcome after the bleak winter
  • don't mind a cold, wet spring (which is highly probable)
  • honeybees like them. I like to help honeybees out as much as I can.
  • are an Allium and I love Alliums
  • bring back fond memories for me. I remember Tato asking me to go snip some "schneetleek" to sprinkle on our homemade chicken soup and it was one of my favourite "grown-up" tasks and I was so proud. "Schnittlauch" is the German word for chives, but until today I thought it was a Czech word. Apparently "pažitka" is the "new" (to me and probably to my Tato but I can't ask him) word for chives in Czech. I'm wondering if perhaps this is due to czechification that happened after WWII.
  • great topping for baked potatoes. Only freshly-snipped will do, dried chives taste like cardboard and don't even think about freezing them.
  • plants spread well, which may or may not be a good thing
  • divide easily. I was given this plant (rather its mother to be more accurate) by my neighbour to welcome us when we moved in, so it holds happy memories for me.
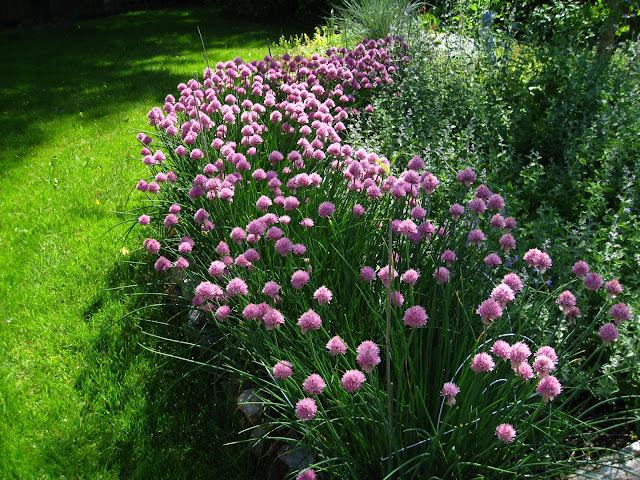
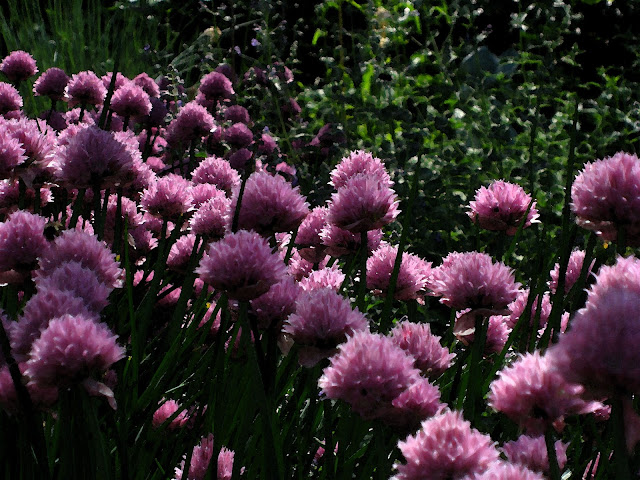
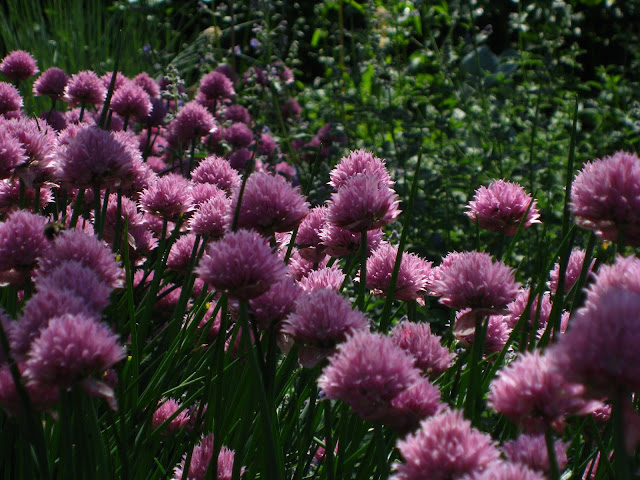
  • do not get out of control unless you want them to (as evident in the border picture)
  • thrive in any soil
  • don't need pampering, i.e. I never water or fertilize
  • will grow well in a pot. My Mom enjoyed fussing over hers on her small balcony, even though it didn't need much fussing.
  • are easy to prune, just shear them off after blooming and they will send up fresh new leaves. I try to do this before the rain beats them down, or before they go to seed because otherwise there will and explosion of millions of seeds everywhere.
  • flowers are edible too, tear them apart and they will be less oniony-tasting or at least you will get less on your tongue all at once
  • flowers make a nice garnish on any plate
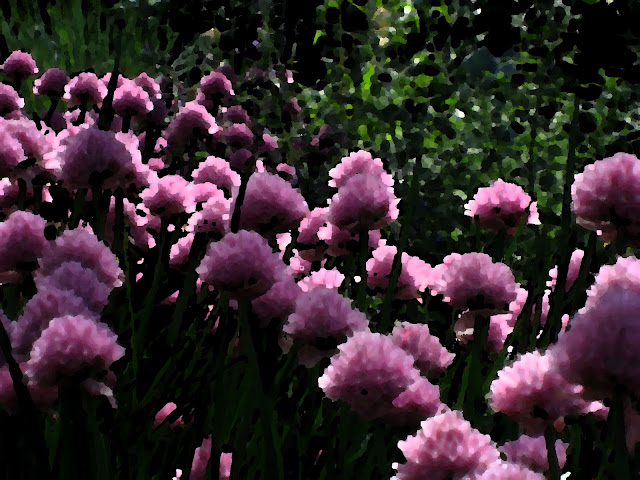
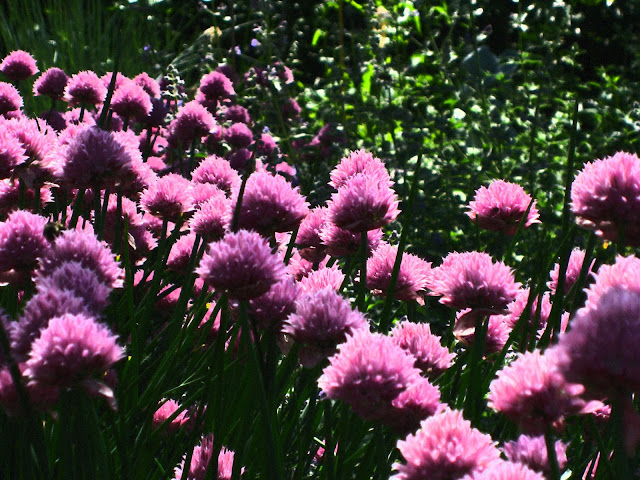
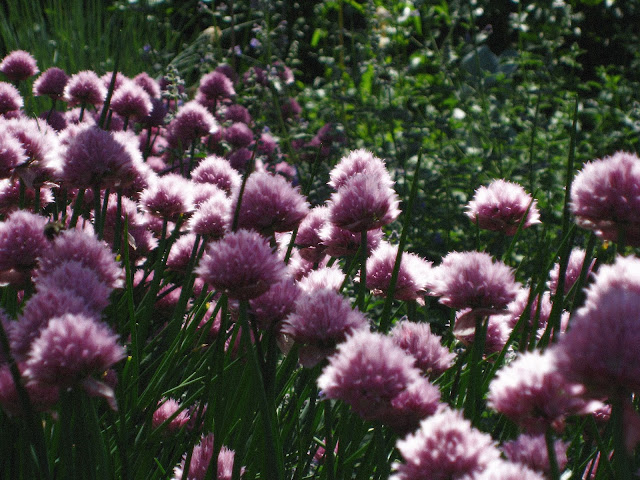
  • make a great subject for Photoshop


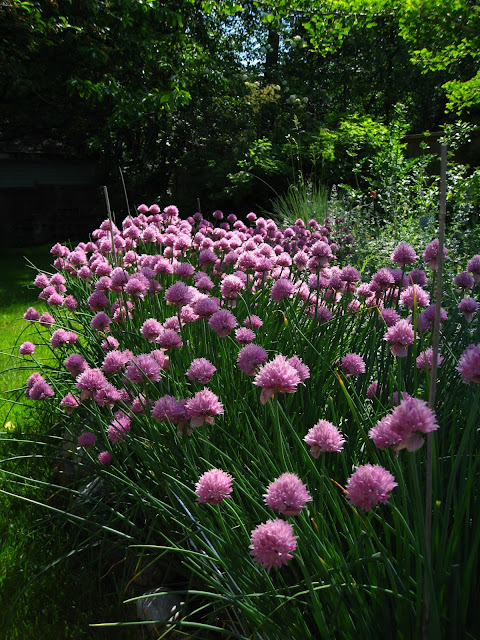
Chives Are So Easy To Grow
Chives Make a Great Border
Filter>Artistic>Watercolour
Filter>Artistic>Palette Knife
Filter>Artistic>Smudge Stick
Filter>Distort>Diffuse Glow

Wednesday, March 20, 2013

My Colourful Sneakers

These are so much fun to wear and comfortable too.

Impressionist Brush is Awesome


A larger brush


Now I'm getting carried away

Massage Your Kale

Kale leaves can be a bit tough eaten raw, so if you want to have kale in a salad, I know it sounds strange, but you need to massage the dressing into the leaves. Disposable plastic gloves come in really handy for this procedure.

Kale Salad—Japanese Style
1 bunch kale
¼ cup white miso paste
¼ cup extra-virgin olive oil
Juice of 1 lemon
1 T mild hot sauce
3 medium radishes, thinly sliced

1. Remove the thick stems and ribs from the kale and discard them; cut the leaves into bite-size pieces.

2. Put the miso, olive oil, lemon juice, and hot sauce in a medium salad bowl and whisk together until smooth. Add the kale and massage the leaves to combine. Let the salad sit at room temperature for 15 minutes. Toss in the sliced radishes just before serving.


It's trendy to add cranberries and walnuts and/or feta or goat cheese to a salad. Massage kale leaves with any purchased vinaigrette dressing, or make your own with 3 parts salad oil and 1 part vinegar and a bit of Dijon mustard, sugar and lemon juice. After massaging, the kale leaves that is, toss in the dried cranberries and chopped walnuts and cheese as desired.

Monday, March 18, 2013

Kale

Whenever I eat kale I feel like I'm eating something healthy. I've been eating kale since before it became trendy. In those days it was only available at the farmer's market but today I see it every where I shop.

Kale is easy to grow and is very generous in my garden. The first kale plant I bought was "Purple Kale". It's lasted quite a few winters although it looks a little scruffy and needs a haircut each spring. It will grow as tall as a tree if I let it!

I've noticed that since kale has become so popular, it's hard to find plants in the nurseries since they sell out quickly. Growing from seed is the way to go and last year I grew "Winterbor". This year I'm going to try a new variety called "Black Magic" which according to Veseys Seeds has "new leaves appearing just like magic" (how could I resist!?). I've also ordered "Blue Curled Scotch" which has 690 seeds in a package so I'm sure I can spare a few for a microgreen salad like they suggest.

Black Magic Kale
Blue Curled Scotch Kale
My first kale plant "Purple Kale" is still going strong
My "Winterbor Kale" looks even better with hoar frost
I was introduced to kale many years ago by James Barber while watching his TV show "The Urban Peasant" (also his moniker). He made kale and potato soup and I remember him saying "chop the kale leaves and stems about the same width as a telephone cord". Maybe this stands out in my mind because the first time I made the soup, I noticed that the kale stems themselves resembled a phone cord. (This statement is for the benefit of those of you who are saying "What's a phone cord?") Yikes! I just realized his show aired in 1991 and that's over 20 years ago! James Barber passed away in 2007 at the age of 84, a pot of soup simmering on the stove and an open cookbook in front of him. What a great way to go!

James Barber's (The Urban Peasant) Kale and Potato Soup

1 bunch kale, leaves and stems
1 onion, chopped
4 T oil or butter (or combination)
7 cloves garlic, yes 7
½ t red chili flakes
1 bay leaf
1 bouillon cube
5 medium red potatoes, peeled and cubed
1 farmers sausage, diced (optional)
sour cream for topping (optional)

Slice the kale leaves and stems phone-cord thickness. Saute the chopped onion, garlic, bay leaf and chili flakes in 4 T hot oil or butter. Cook 3–4 minutes. Add cubed potatoes, 1 cup of water, cover and cook 5 minutes. Add the kale and bouillon cube, cover and cook for 5 minutes more. Add 5–7 cups water, bring to a boil and simmer, covered for 40 minutes. Add ground pepper and top with sour cream (optional). If desired add diced farmers sausage and cook for an additional 30 minutes. Note: In the interest of cutting carbs, I sometimes make this with less, or no potatoes, and it still tastes great.


This is my newest favourite way to enjoy kale. Eggs for dinner? Why not?

Kale and Feta Frittata

1 bunch kale
Salt
3 tablespoons extra-virgin olive oil
1 large yellow onion, chopped
3 garlic cloves, minced
Black pepper
6 large eggs
3 ounces feta cheese, crumbled

1. Heat the oven to 400°F. Bring a kettle of water to a boil. Remove the thick stems from the kale and discard them; roughly chop the leaves and put them in a large heatproof bowl. Sprinkle the leaves generously with salt, then pour the boiling water over them and let them sit for 10 minutes.

2. Meanwhile, put the oil in a large ovenproof skillet over medium-high heat. When it’s hot, add the onion and garlic and season with salt and pepper. Cook, stirring occasionally, until they begin to soften, about 5 minutes. Drain the kale well and add it to the skillet; cook, stirring occasionally, until it's very tender, 10–12 minutes.

3. In a medium bowl, beat together the eggs, and add the feta, along with some pepper. Turn off the heat under the skillet, pour the egg mixture over the vegetables, and stir very gently just to distribute all the ingredients evenly in the skillet. Transfer the skillet to the oven and bake until the top of the frittata is firm and the edges are golden brown, about 20 minutes. Cut into wedges and serve hot, warm, or at room temperature. Serves 2 to 3.


Sunday, March 17, 2013

Not Quite Scarborough Fair

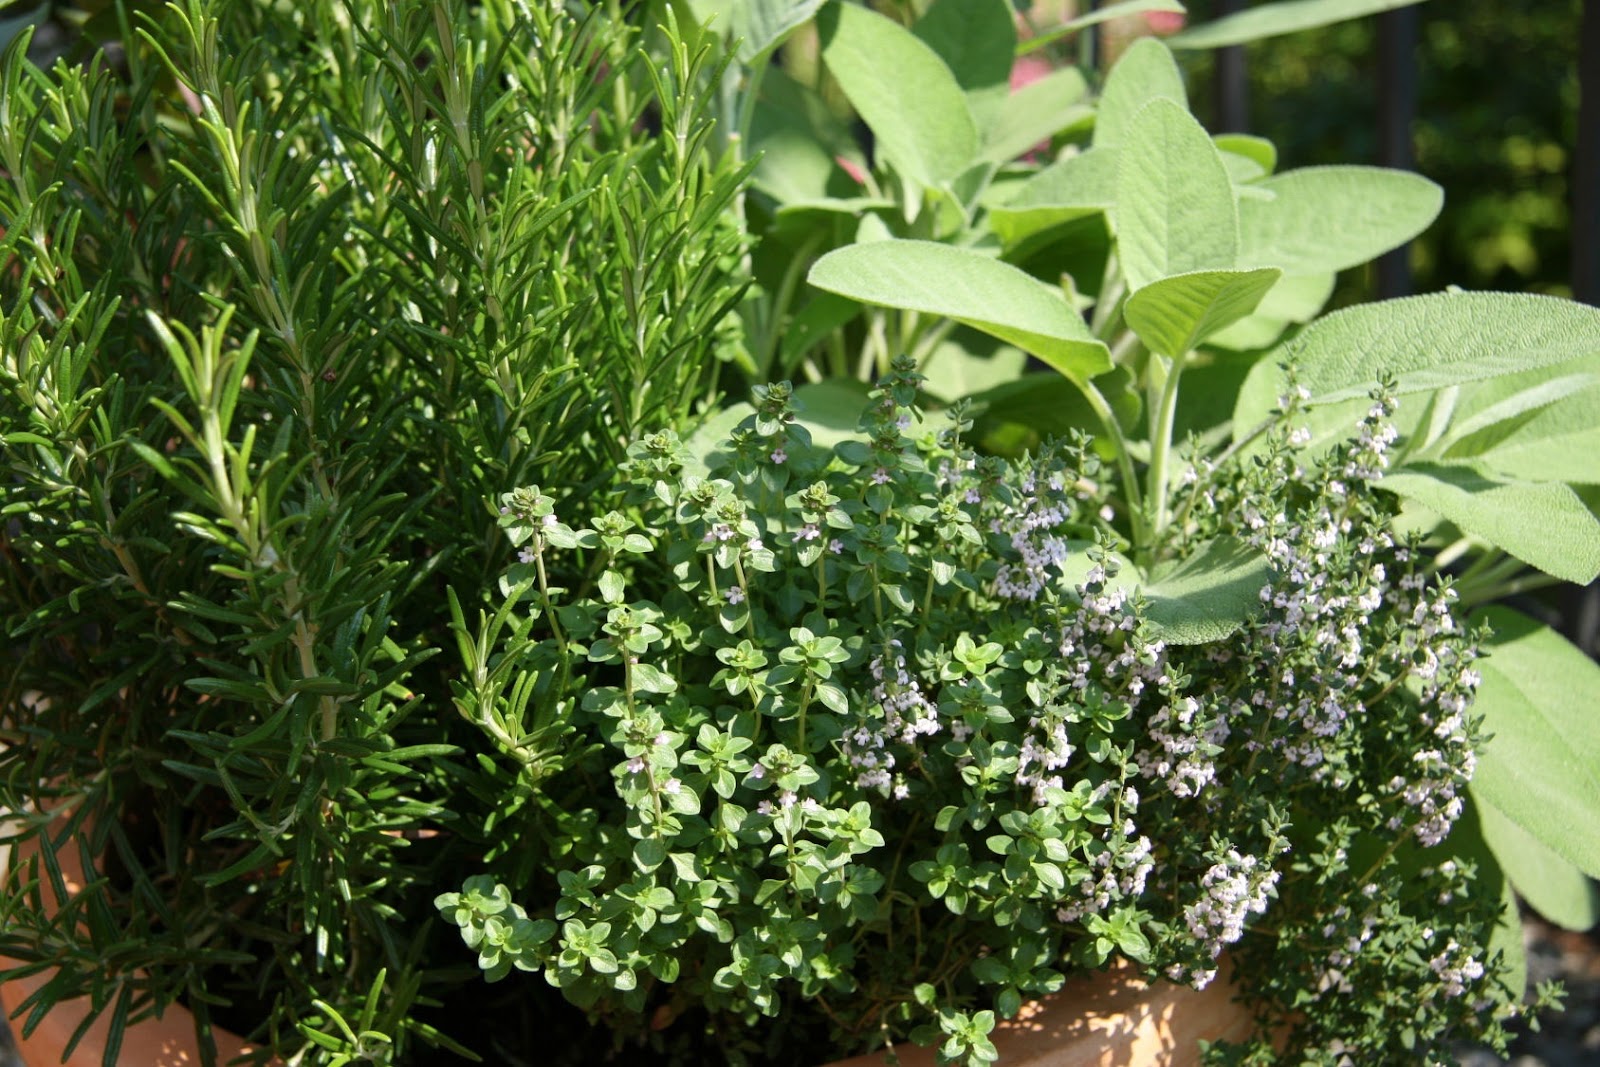
Are you going to Scarborough Fair? Parsley, sage, rosemary and thyme. Even though there is no parsley in the photo it will do nicely in demonstrating how to create Text Effects using Type Masks which simulates cutting the letters out of the picture.

This picture has three herbs: sage, rosemary, and thyme.I thought it would be neat to have "basil" cut out of the basil in the picture, "sage" cut out of the sage, and so on.

  • Open photo of herb (background)
  • As always, duplicate this layer (background copy)
  • Select this background copy layer so that it is the active layer
  • From the tool bar select Horizontal Type Mask Tool
  • Select font style and size
  • Position cursor on the correct place on the picture you want and type text. Entire picture will be covered with red. This is a bit unnerving at first but don't be alarmed. After typing text, click any where.
  • Text will have white moving dashes around it on the same background copy. To put these "cut out letters" somewhere that you can work on them:
  • Select Edit>Copy
  • Create new layer
  • Select Edit>Paste into this new layer (or File>New From Clipboard)


Original
The word "herbs" spans the entire width of the picture so that background of each of the herbs—sage, rosemary and thyme are revealed. For the remaining text only the corresponding part of the picture was selected, i.e. basil is of the basil part of the picture, etc. To make it more interesting I chose a different font for each herb.

Old English Text MT
Cooper Black

Georgia

Ravie


You can do anything you want to do to these new layers of "cut out letters". Since they are no longer considered text, any effects (not just text effects) can be applied. However; I liked text effects for this project and I chose a combination of  two Layer Styles: Drop Shadows>High and Bevels>Simple Pillow Emboss.

Cut Out Letters with Combo of Two Layer Styles Applied

Now That I Know How to Outline Text, What Else Can I Do?

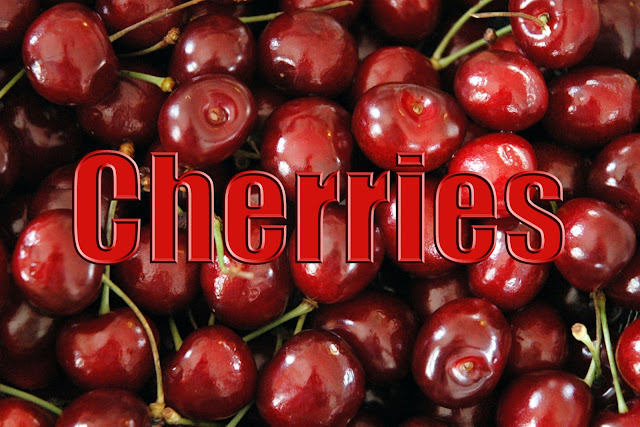
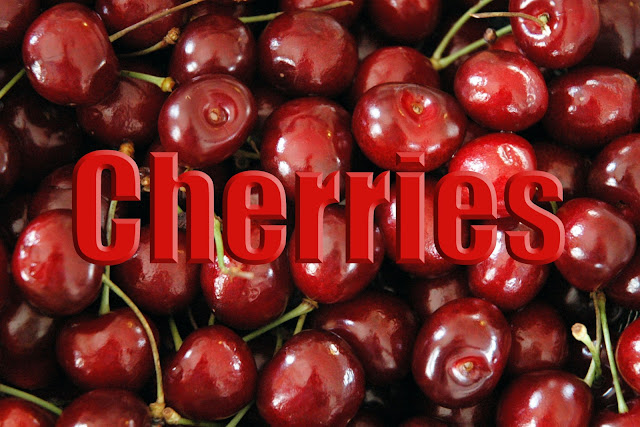
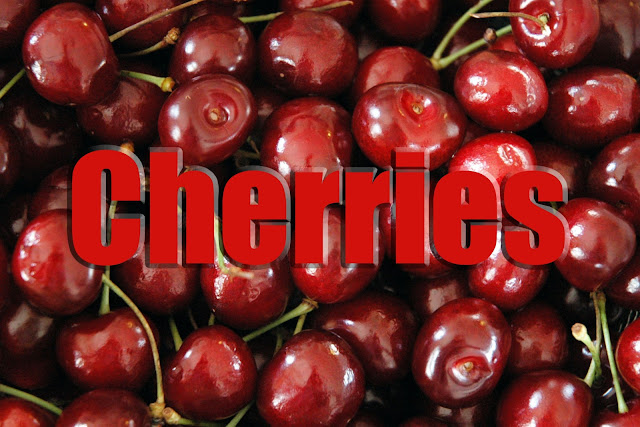
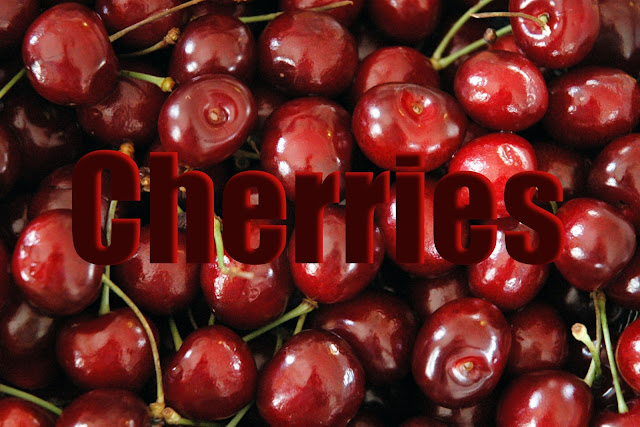
Since I had so much fun with Text Effects, I decided to try Layer Styles. I used the same image of cherries but changed the text colour from white to a shade of red chosen from the image via the eyedropper. To change text colour, highlight the text, click on the white text colour box, select eyedropper tool and click on a particular cherry that has the exact shade of red that you desire. Then, with the Text Layer selected (i.e. blue), click on Layer Styles tab, select options from the pull down menu (Bevels is the first option), and then select from the many style libraries under that (Simple Outer is the first style under Bevel).

Original
Bevels>Inner Ridge
Bevels>Scalloped Edge
Bevels>Simple Sharp Inner (there is also a Simple Inner)
Bevels>Simple Sharp Outer (there is also a Simple Outer)
Note: Other options under Bevels are: Simple Emboss, Simple Pillow Emboss, Simple Sharp Pillow Emboss, and Wacky Metallic.
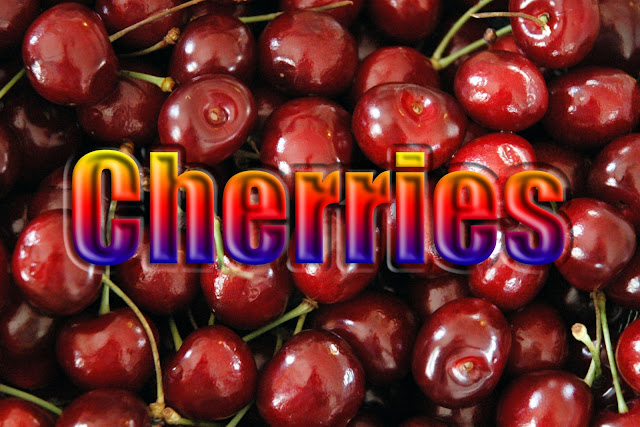
Complex>Rainbow
Note: Other Complex options are too numerous to list but range from Cactus to Sunset Sky.
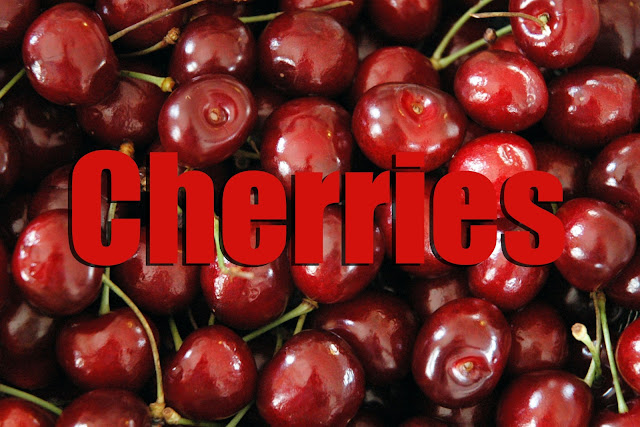
Drop Shadows>Hard Edge (there is a Soft Edge as well)
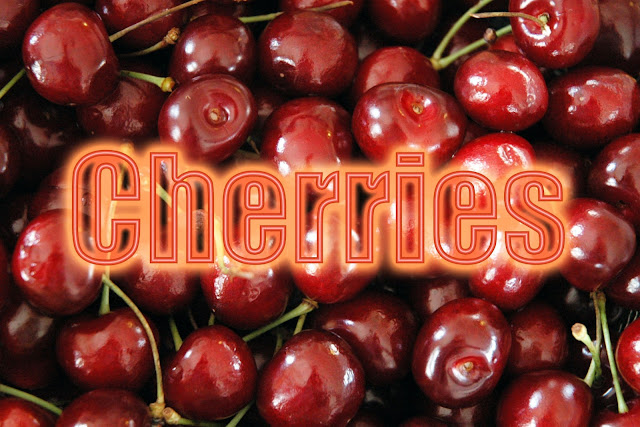
Note: Other Drop Shadows are: High, Low, Noisy, Outline, Fill/Outline, and Neon.
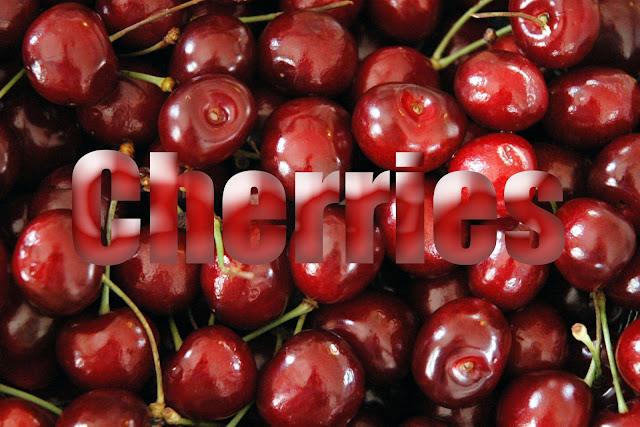
Glass Buttons>Translucent
Note: Glass Buttons also come in a range of colours from Black to Yellow.
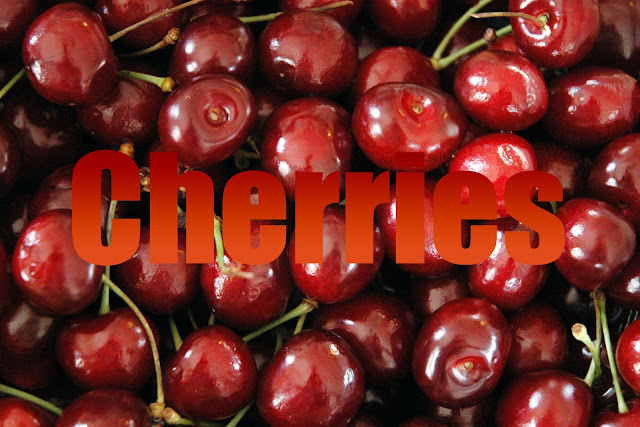
Image Effects>Sun-faded Photo
Note: Other Image Effects include (among others): Puzzle, Rain, and Tile Mosaic.
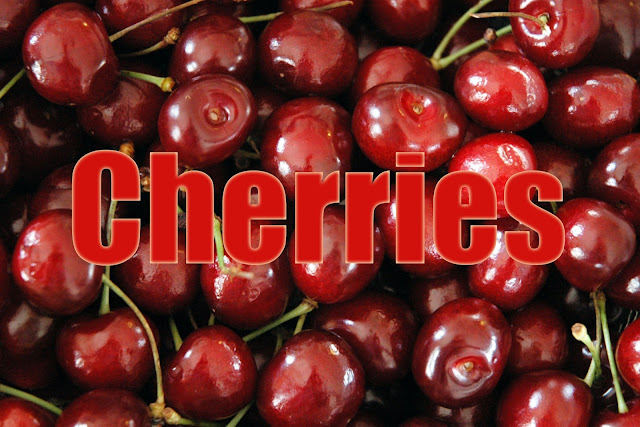
Inner Glow>Simple
Note: There are many Inner Glow effects such as Fire, Blue Ghost and Radioactive. I can't see myself ever using any of these but you never know.
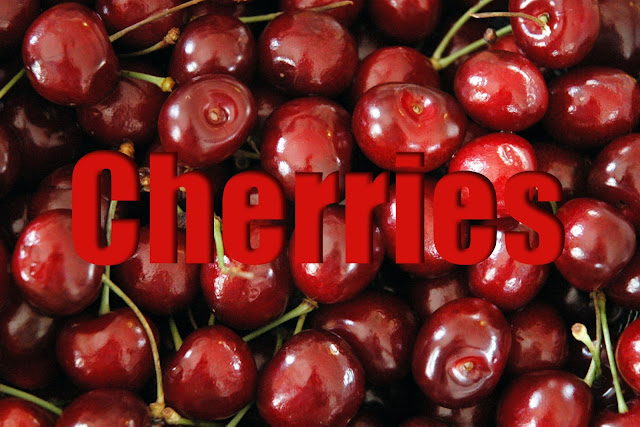
Inner Shadow>Low (as opposed to High)
Inner Shadow>Reverse Shadow
Note: There are also Noisy, Noisy Stripes and Ridges options under Inner Shadow.
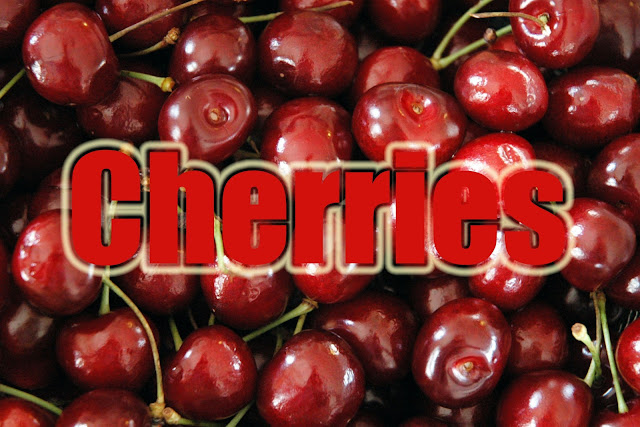
Outer Glow—Small Border (as opposed to Big Border , Big Noisy Border, or Small Noisy Border)
Note: The remaining Outer Glow options are: Simple, Noisy, Heavy, Heavy Noisy, Fire, Blue Ghost, and Radioactive.
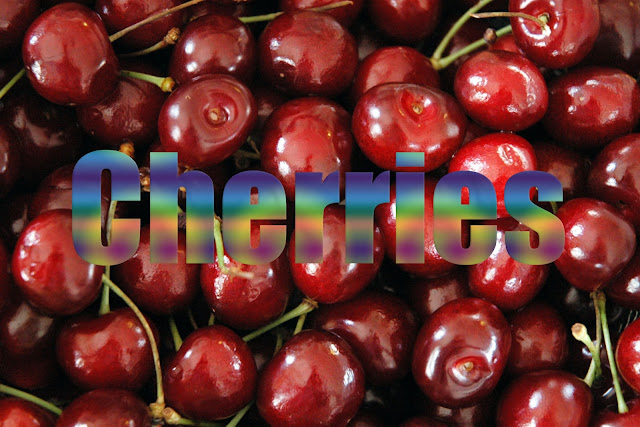
Patterns>Tie-dyed Silk
Note: The other Patterns have interesting names such as: Satin Sheets, Blanket, Denim and Dry Mud.
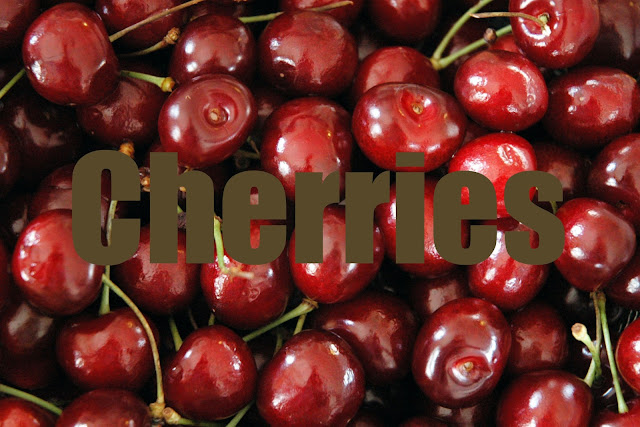
Photographic Effect>Sepia
Note: I can't see the value of Photographic Effect but I included it to show that it is available. Other options range from Blue Tone to Orange Gradient.
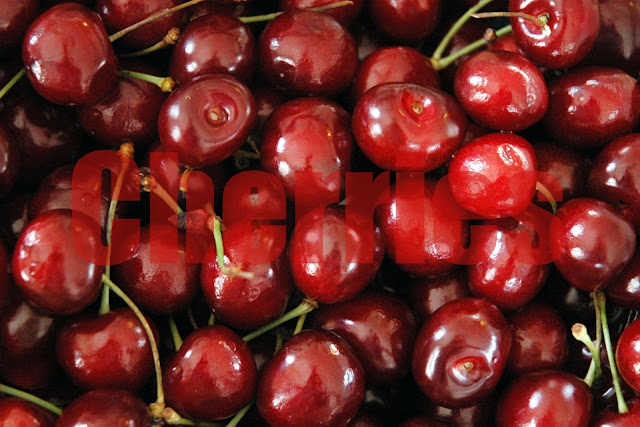
Visibility>Ghosted (as opposed to Show and Hide)
Below are the appropriately named Wow Layer Styles. They are in alphabetical order but coincidentally, my favourite one is last.
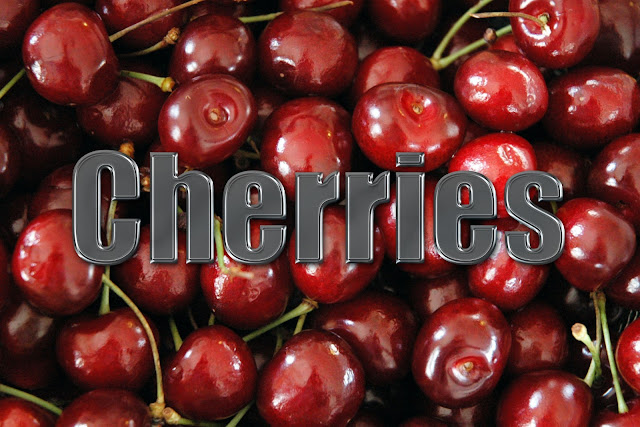
Wow Chrome>Bevelled Edge
Note: Other Wow Chrome options are: Textured, Shiny Edge, Reflecting, and Dark.
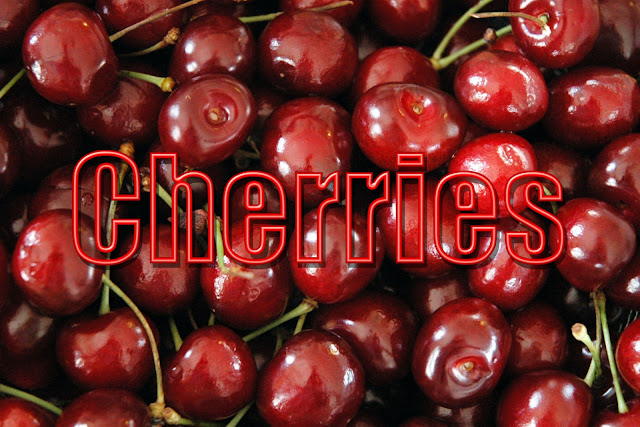
Wow Neon>Red Off
Wow Neon>Red On
Note: Wow Neon comes in all the colours of the rainbow and is available in both Off and On.
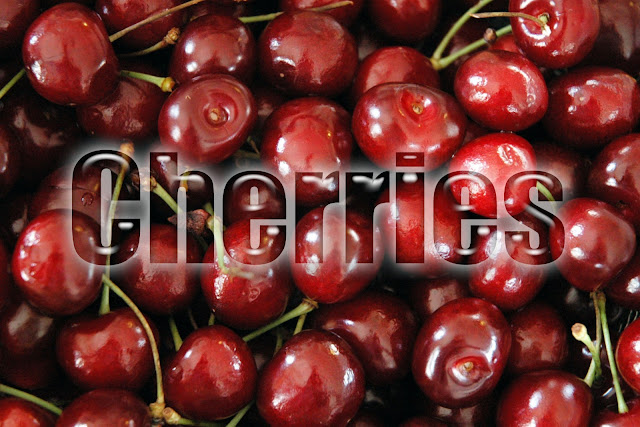
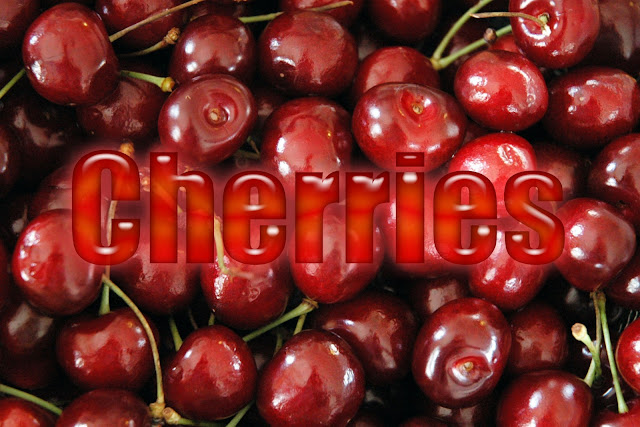
Wow Plastic>Clear
Wow Plastic>Red (my favourite)
Note: Wow Plastic comes in all colours of the rainbow as well.


Layer Styles can be combined so you can multiply the wow (intentional word choice) factor.

This is a combination of three Layer Styles: Bevels>Simple Sharp Inner, Drop Shadow>Hard Edge, and Wow Chrome>Bevelled Edge.
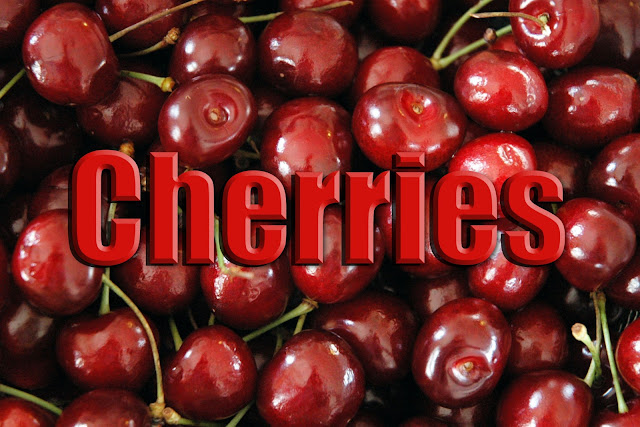
Combo of Three Layer Styles
You can also combine Layer Styles with Text Effects.

Here is Layer Styles>Wow Plastic>Red combined with Text Effect>Water Reflection
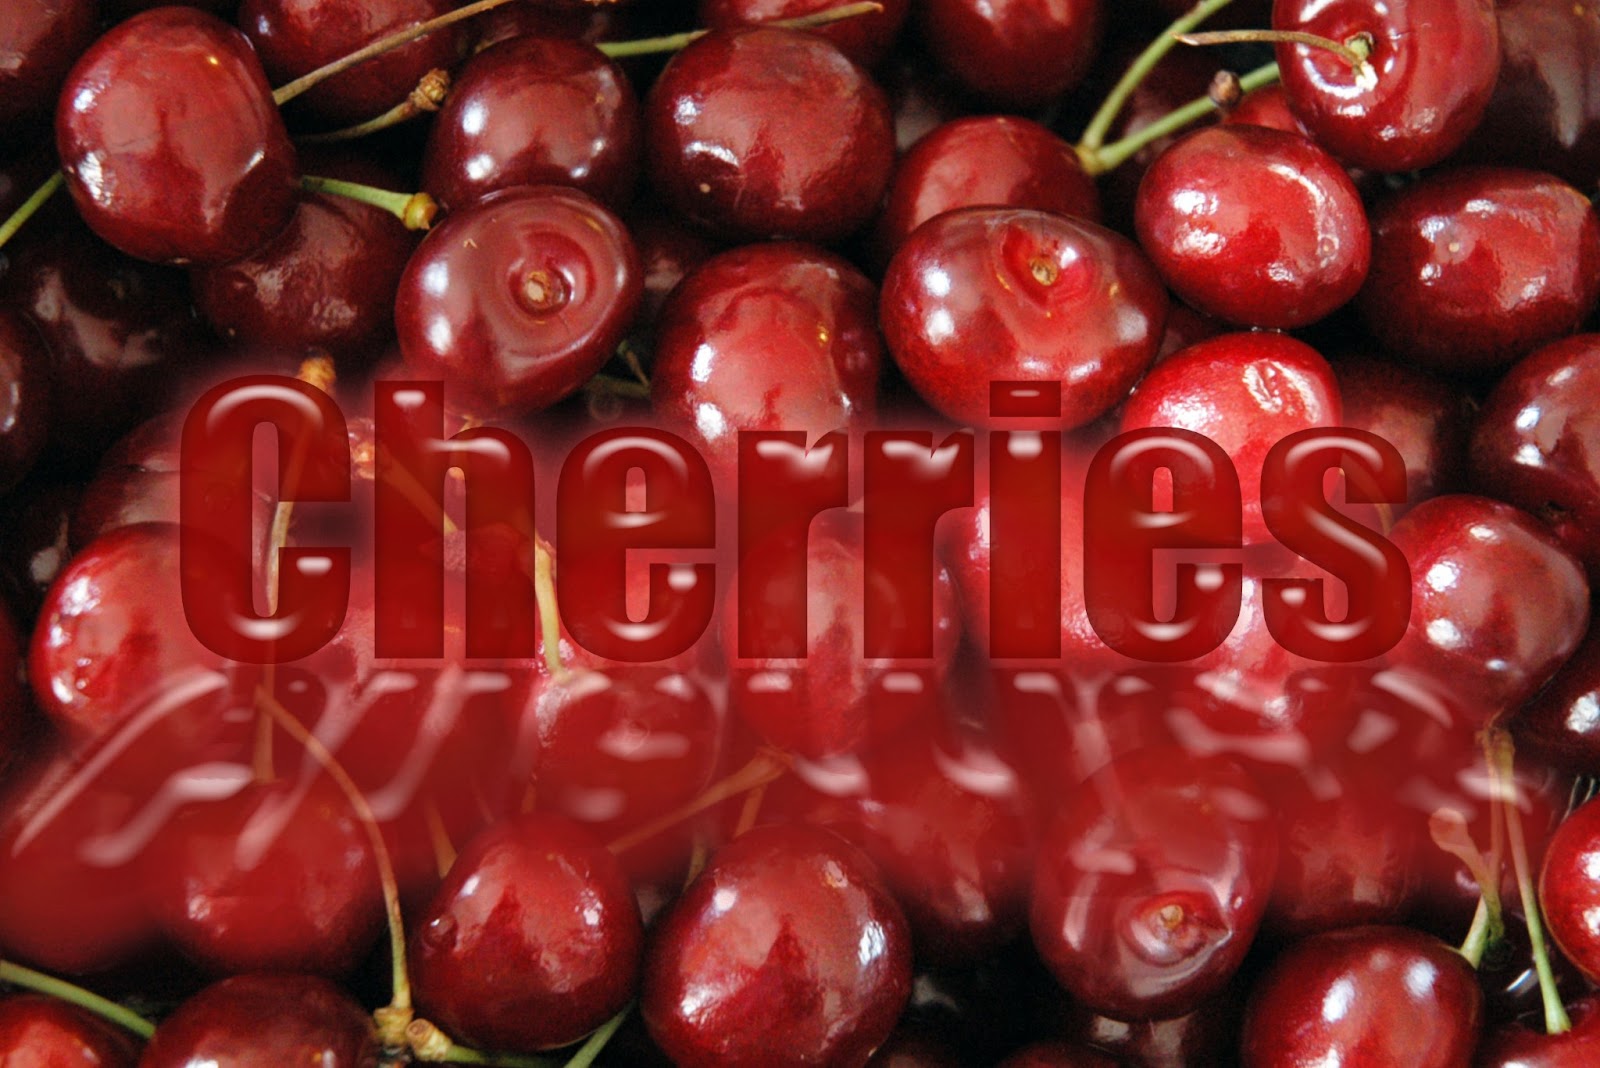
Combo of Layer Styles and Text Effect
For the picture below, I first changed the font from Impact to Stencil, then applied Text Effect>Sprayed Stencil, lastly selected Layer Styles>Drop Shadows>High
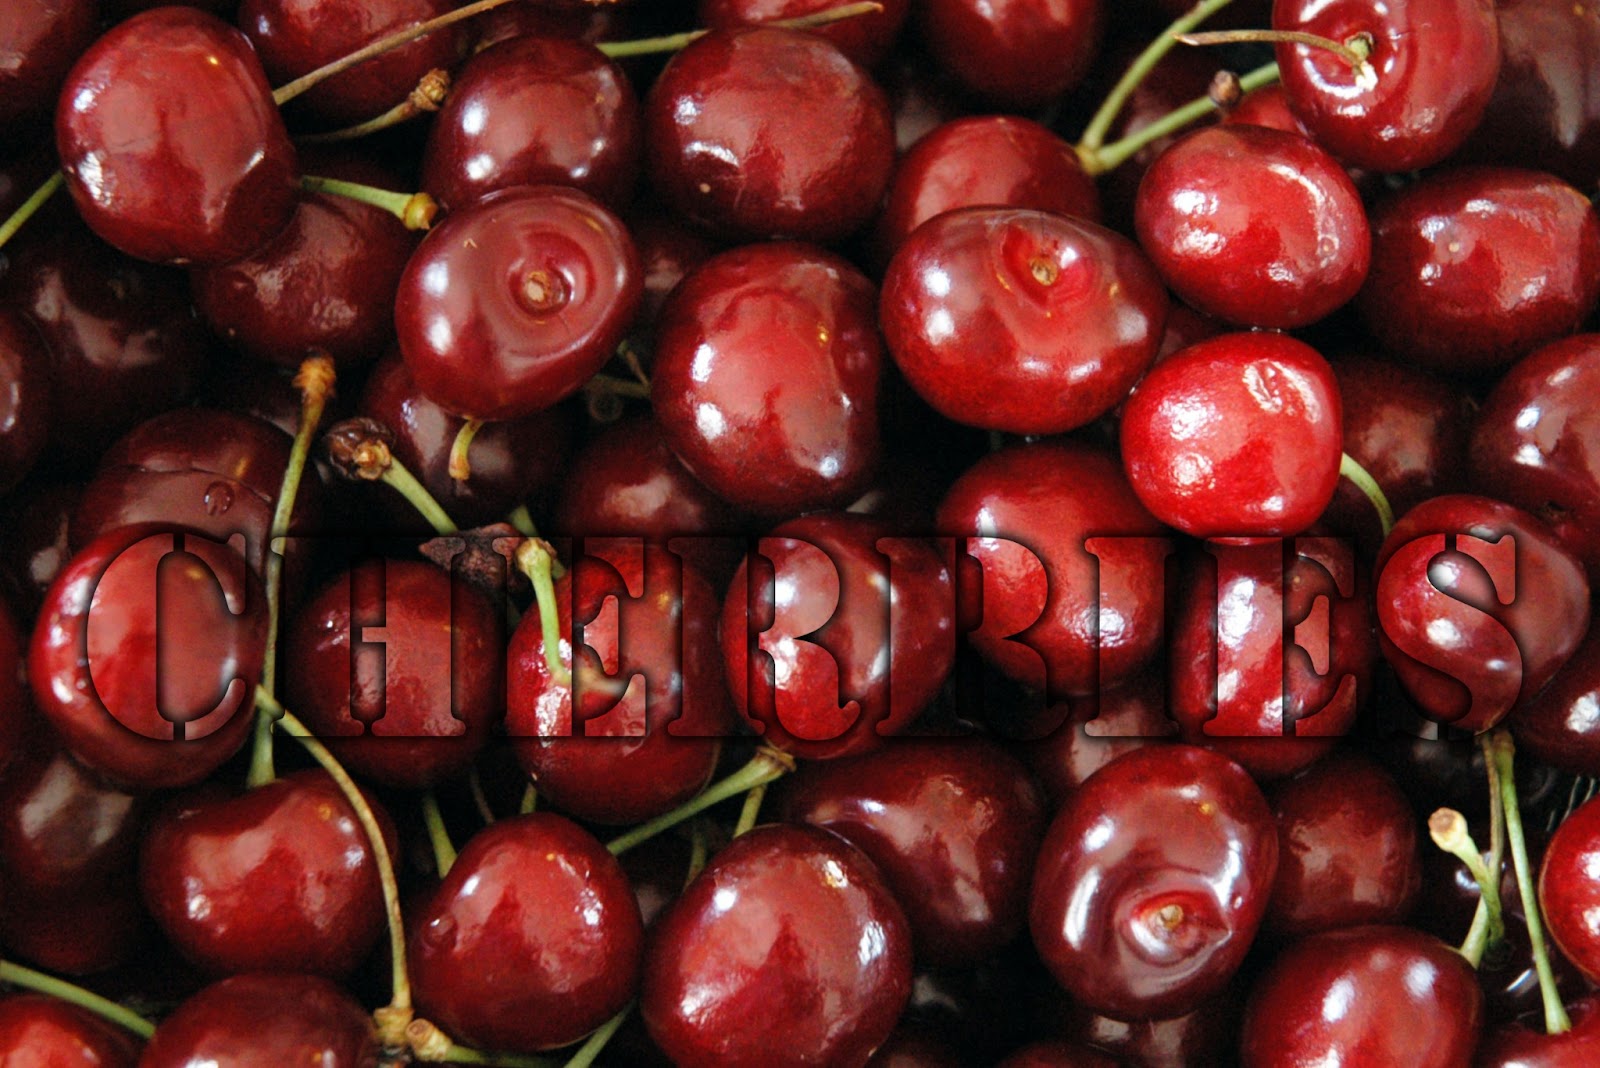
Combo of Layer Styles and Text Effect