Since I had so much fun with
Text Effects, I decided to try
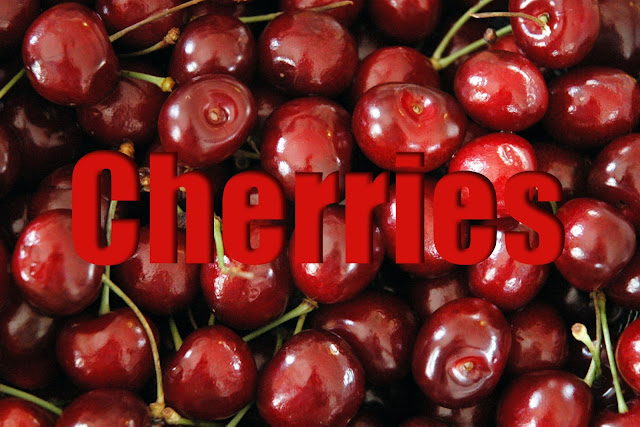
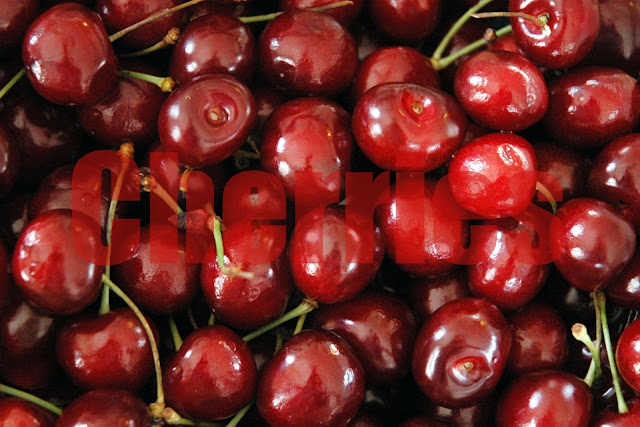
Layer Styles. I used the same image of cherries but changed the text colour from white to a shade of red chosen from the image via the eyedropper. To change text colour, highlight the text, click on the white text colour box, select eyedropper tool and click on a particular cherry that has the exact shade of red that you desire. Then, with the
Text Layer selected (i.e. blue), click on
Layer Styles tab, select options from the pull down menu (Bevels is the first option), and then select from the many style libraries under that (Simple Outer is the first style under Bevel).
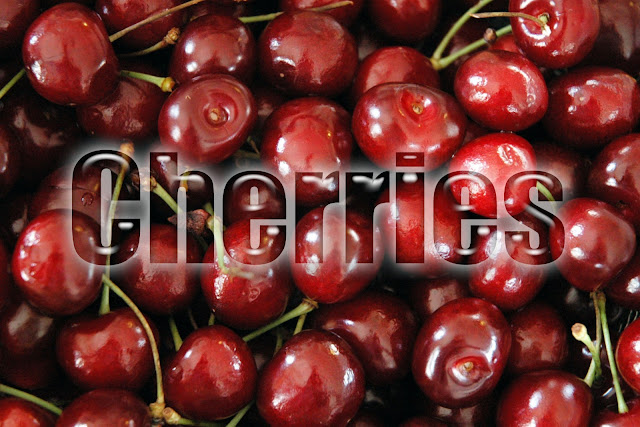
 |
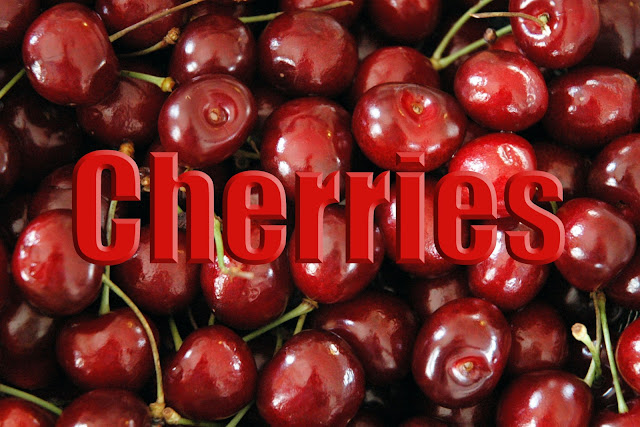
| Original |
 |
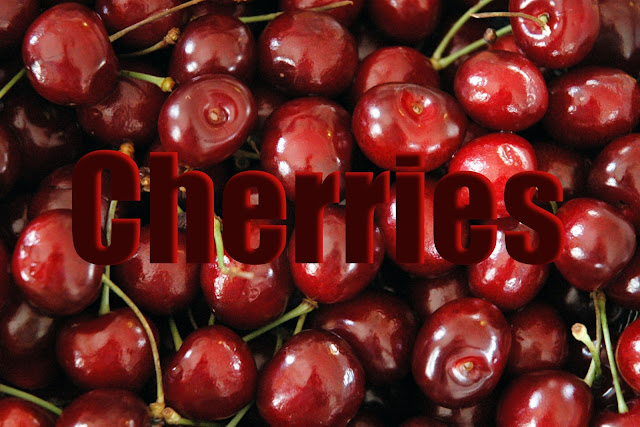
| Bevels>Inner Ridge |
 |
| Bevels>Scalloped Edge |
 |
| Bevels>Simple Sharp Inner (there is also a Simple Inner) |
 |
| Bevels>Simple Sharp Outer (there is also a Simple Outer) |
Note: Other options under Bevels are: Simple Emboss, Simple Pillow Emboss, Simple Sharp Pillow Emboss, and Wacky Metallic.
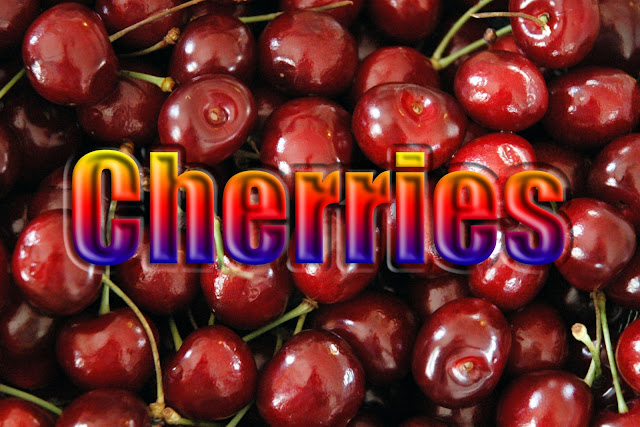 |
| Complex>Rainbow |
Note: Other Complex options are too numerous to list but range from Cactus to Sunset Sky.
 |
| Drop Shadows>Hard Edge (there is a Soft Edge as well) |
Note: Other Drop Shadows are: High, Low, Noisy, Outline, Fill/Outline, and Neon.
 |
| Glass Buttons>Translucent |
Note: Glass Buttons also come in a range of colours from Black to Yellow.
 |
| Image Effects>Sun-faded Photo |
Note: Other Image Effects include (among others): Puzzle, Rain, and Tile Mosaic.
 |
| Inner Glow>Simple |
Note: There are many Inner Glow effects such as Fire, Blue Ghost and Radioactive. I can't see myself ever using any of these but you never know.
 |
| Inner Shadow>Low (as opposed to High) |
 |
| Inner Shadow>Reverse Shadow |
Note: There are also Noisy, Noisy Stripes and Ridges options under Inner Shadow.
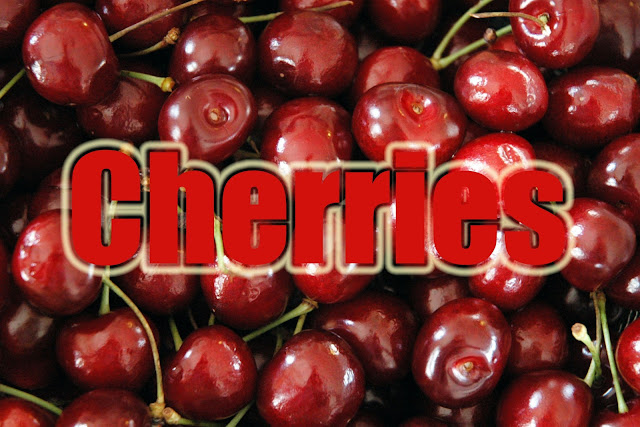 |
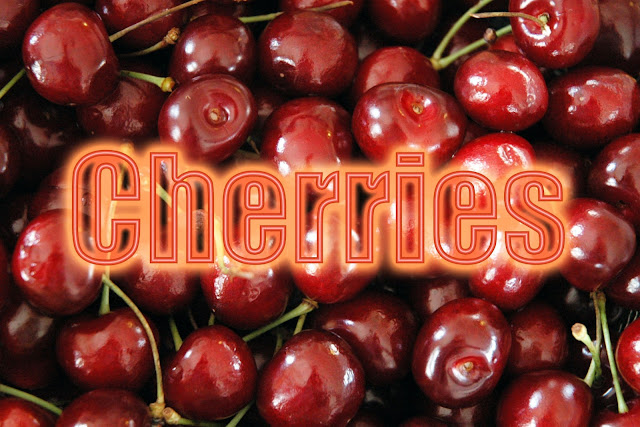
| Outer Glow—Small Border (as opposed to Big Border , Big Noisy Border, or Small Noisy Border) |
Note: The remaining Outer Glow options are: Simple, Noisy, Heavy, Heavy Noisy, Fire, Blue Ghost, and Radioactive.
 |
| Patterns>Tie-dyed Silk |
Note: The other Patterns have interesting names such as: Satin Sheets, Blanket, Denim and Dry Mud.
 |
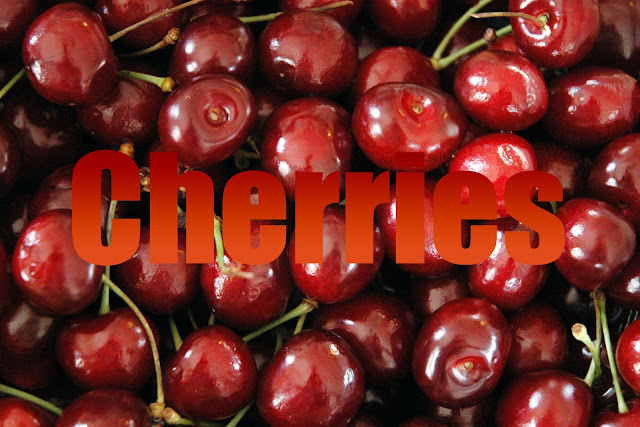
| Photographic Effect>Sepia |
Note: I can't see the value of Photographic Effect but I included it to show that it is available. Other options range from Blue Tone to Orange Gradient.
 |
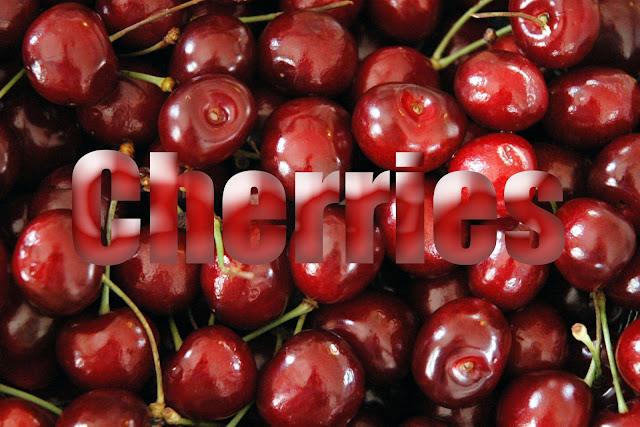
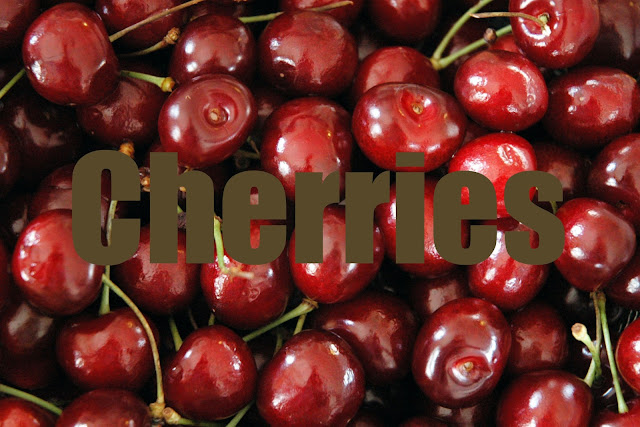
| Visibility>Ghosted (as opposed to Show and Hide) |
Below are the appropriately named
Wow Layer Styles. They are in alphabetical order but coincidentally, my favourite one is last.
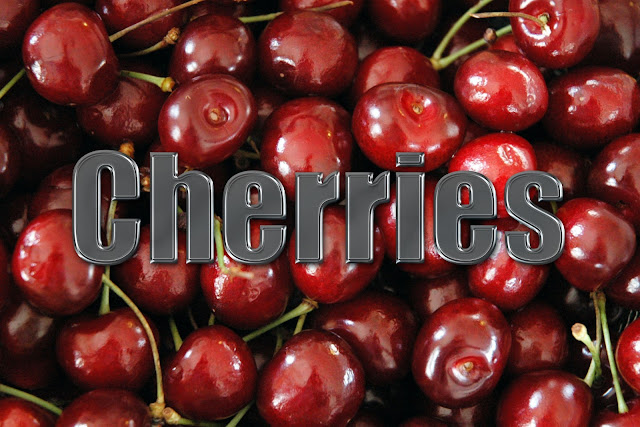 |
| Wow Chrome>Bevelled Edge |
Note: Other Wow Chrome options are: Textured, Shiny Edge, Reflecting, and Dark.
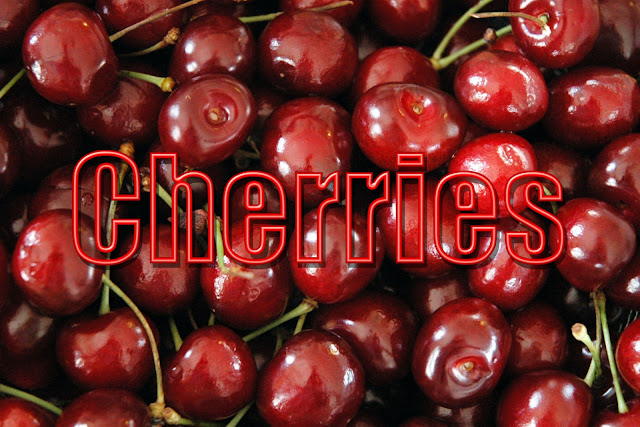 |
| Wow Neon>Red Off |
 |
| Wow Neon>Red On |
Note: Wow Neon comes in all the colours of the rainbow and is available in both Off and On.
 |
| Wow Plastic>Clear |
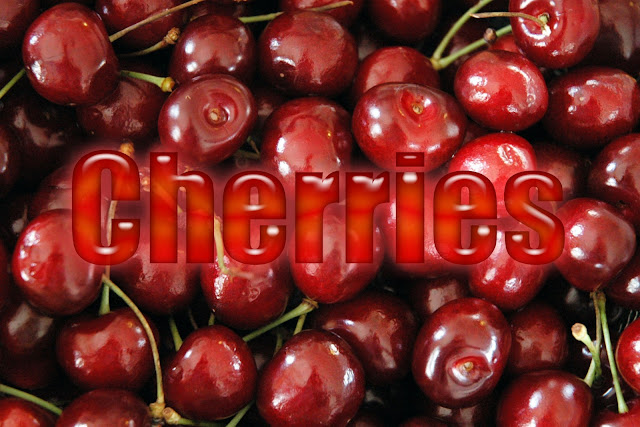 |
| Wow Plastic>Red (my favourite) |
Note: Wow Plastic comes in all colours of the rainbow as well.
Layer Styles can be combined so you can multiply the wow (intentional word choice) factor.
This is a combination of three Layer Styles: Bevels>Simple Sharp Inner, Drop Shadow>Hard Edge, and Wow Chrome>Bevelled Edge.
 |
| Combo of Three Layer Styles |
You can also combine Layer Styles with Text Effects.
Here is Layer Styles>Wow Plastic>Red combined with Text Effect>Water Reflection
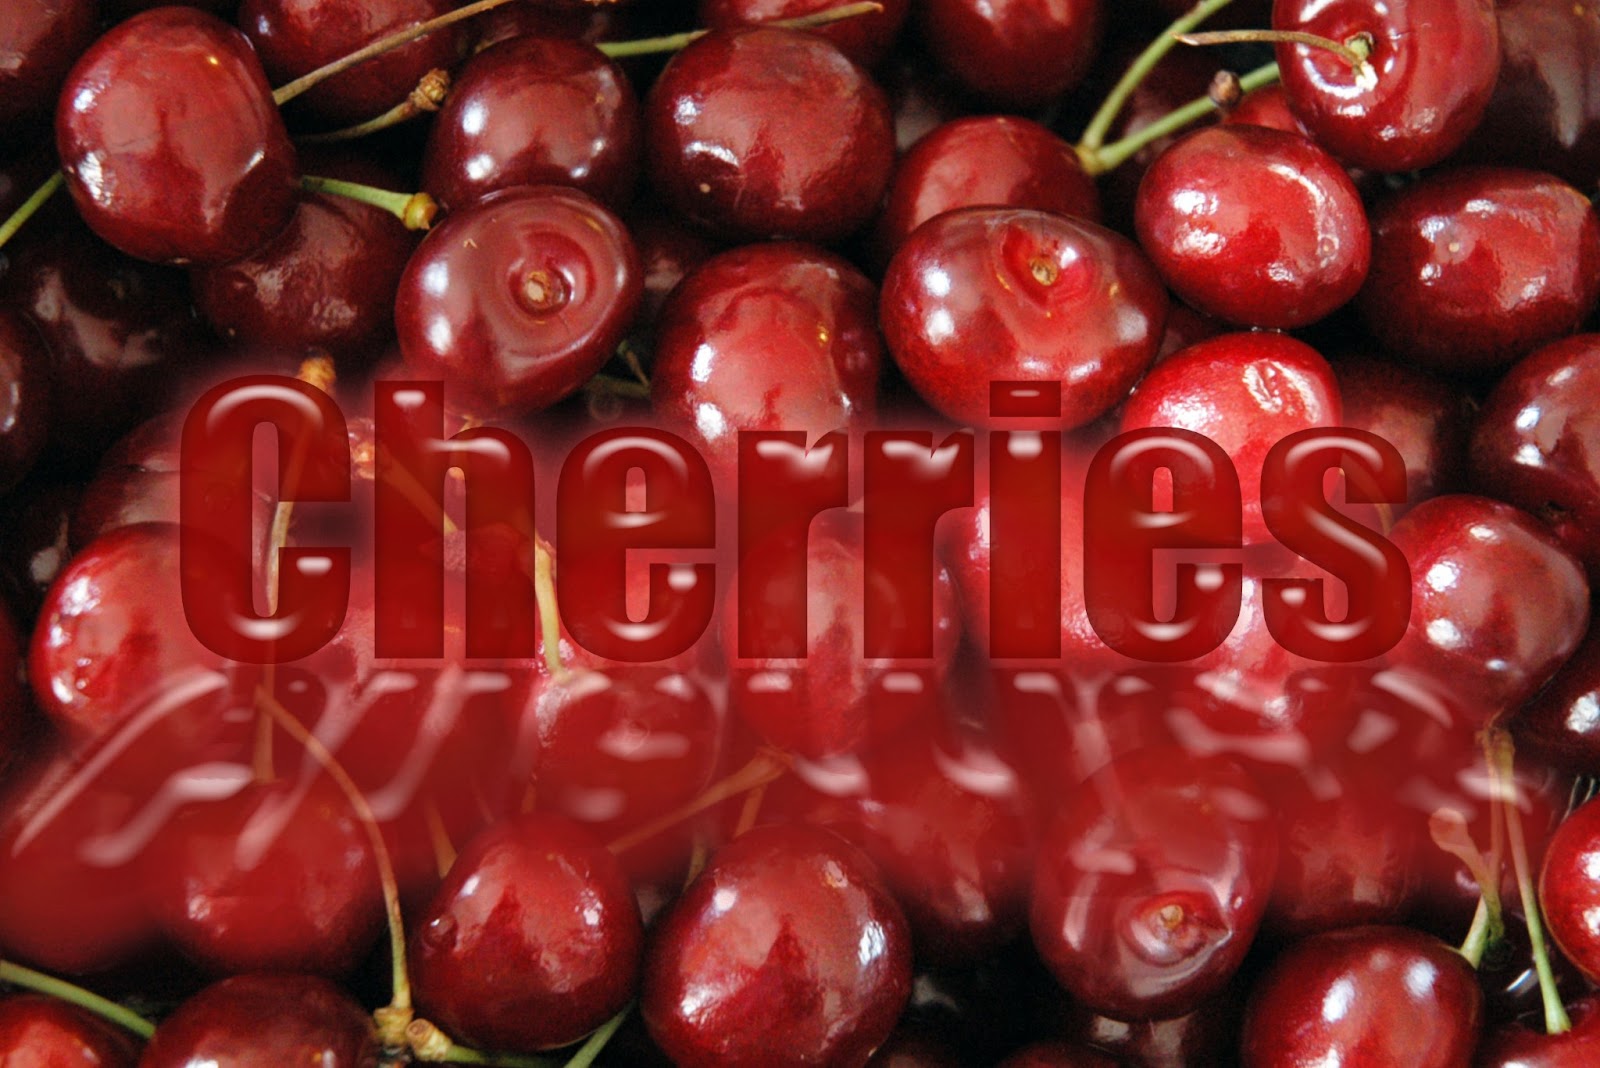 |
| Combo of Layer Styles and Text Effect |
For the picture below, I first changed the font from Impact to Stencil, then applied Text Effect>Sprayed Stencil, lastly selected Layer Styles>Drop Shadows>High
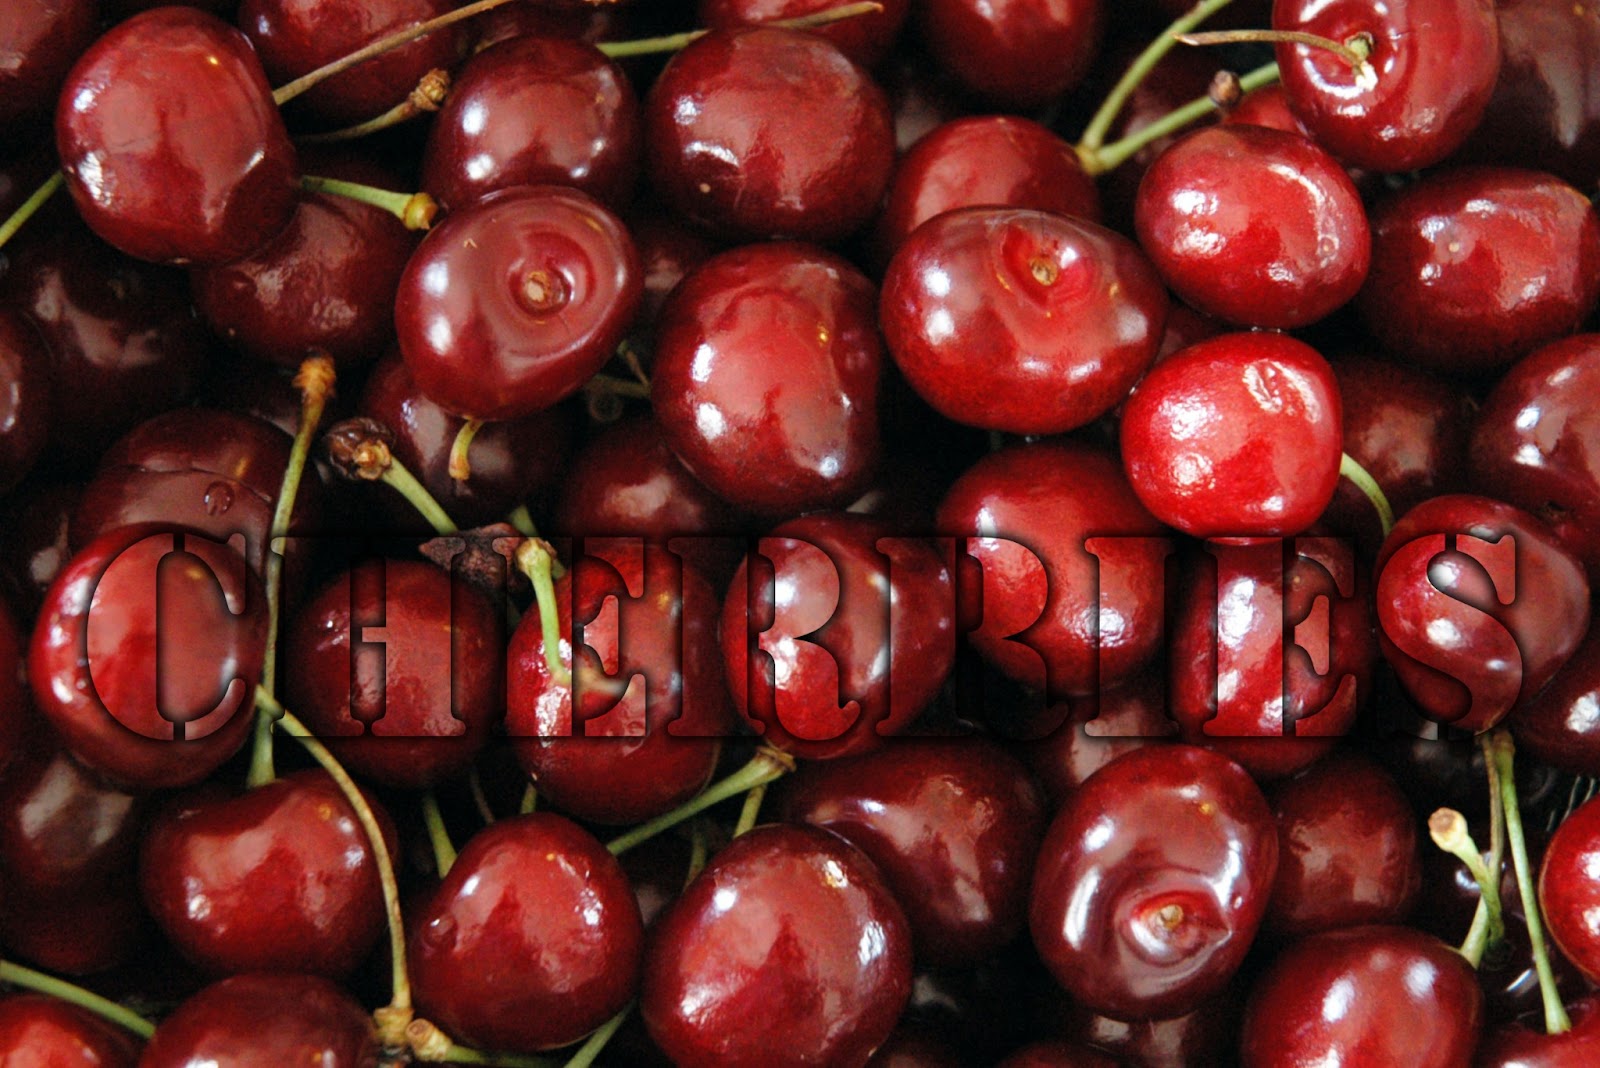 |
| Combo of Layer Styles and Text Effect |


No comments:
Post a Comment