BLACK STENCIL
The black stencil has no shades of grey, just black and white.
Select Image>Adjustments>Threshold and Filter>Artistic>Cutout
 |
| Black and White Stencil |
Background Layers vs Adjustment Layers
In the first example the colour doesn't bleed through. That's because the green background layer is below the stencil layer. I guess it's not really a true stencil because the white is still there. More on that below.
 |
| Background Layer Below Stencil Layer |
In this next picture, notice that the colour does bleed through. This is because a New Fill Layer>Solid Colour was added above the black stencil layer. Blend Mode: Multiply was used so that the layers would blend. In this case the Opacity is 100% but it could be changed to whatever one desires.
 |
| New Fill Layer>Solid Colour Above Stencil Layer |
The black stencil can be separated into two new layers: "black only" layer and "white only" layer. This will simulate a "true" stencil and get rid of the white layer that was above.
In this example the "black only layer" was coloured magenta and the "white only layer" was coloured yellow. The two layers were then placed on a blue background
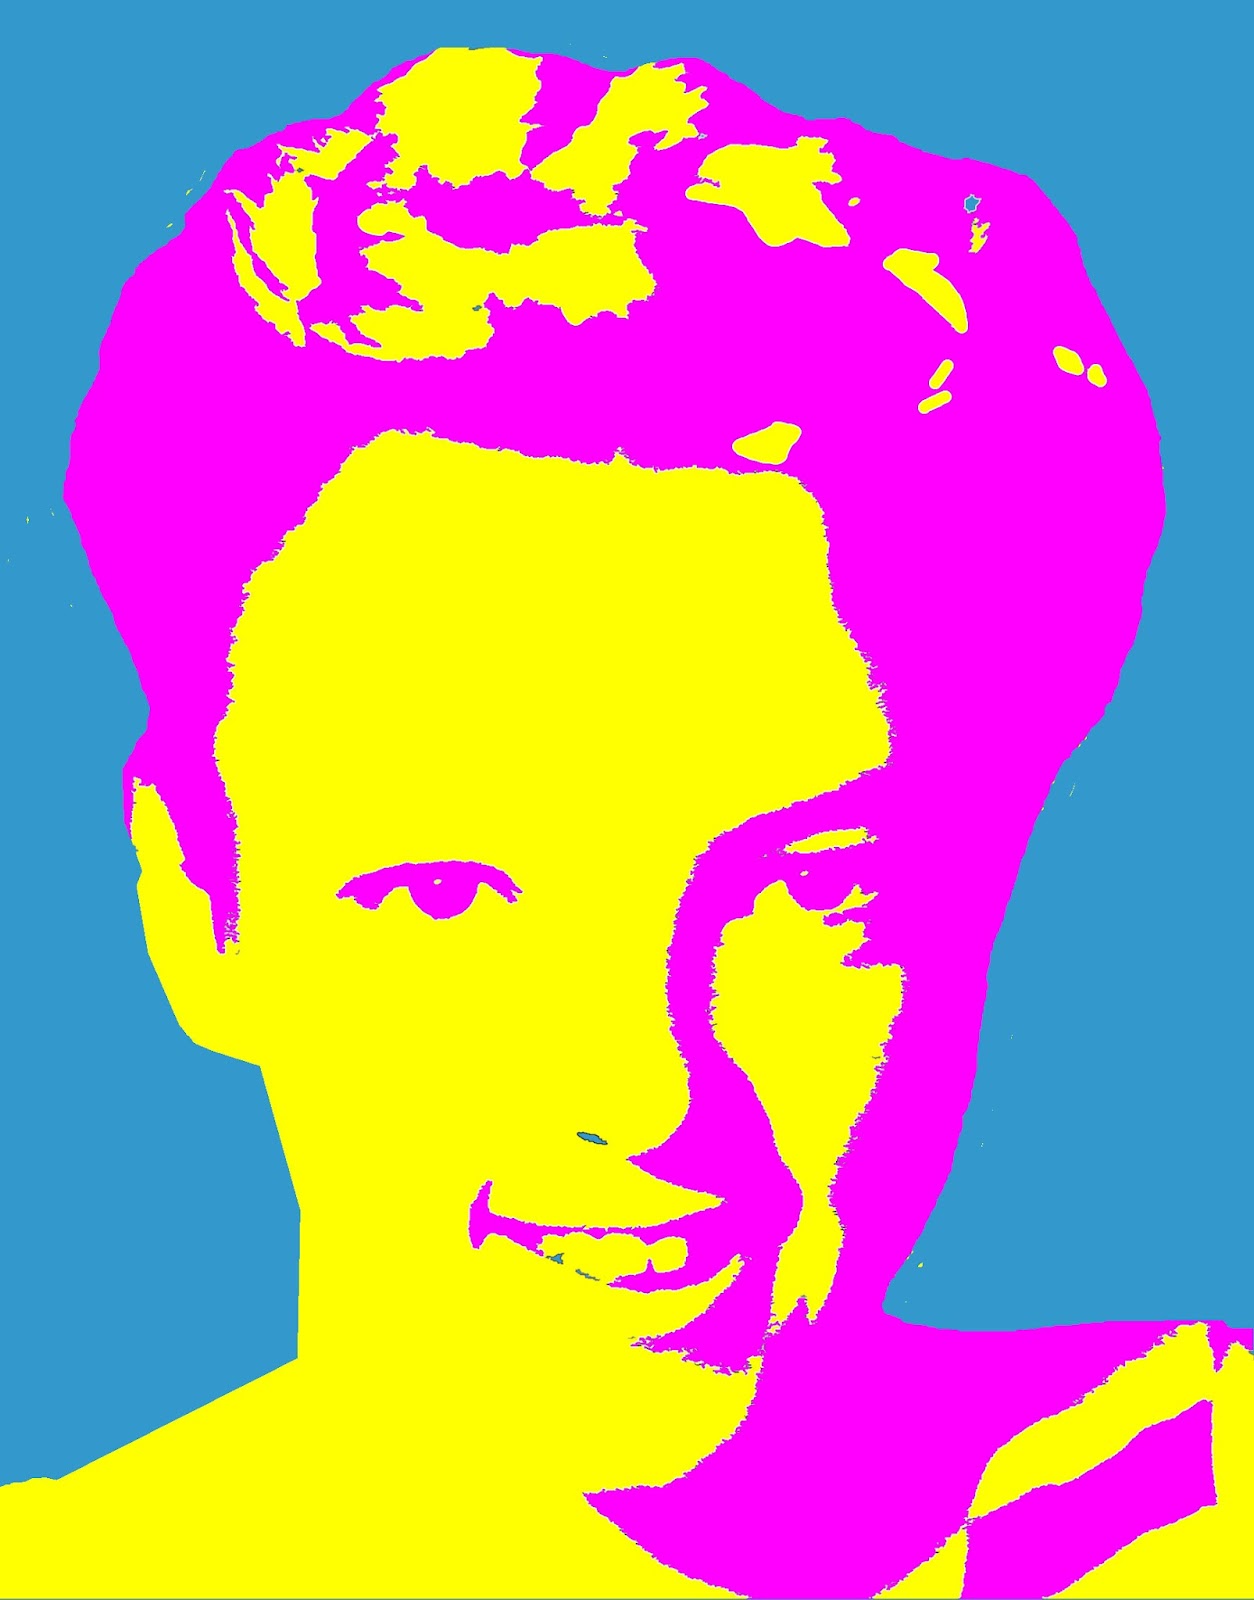 |
| "True" Stencil Used Here |
New layers can be added to colour specific parts of the stencil, e.g. hair. In the example, the hair was "coloured" in a separate layer and the face was coloured in another separate layer. Those two layers were combined with the stencil (shades of grey in this case) and placed on an orange background.
 |
| Strangely, these colours look good together |
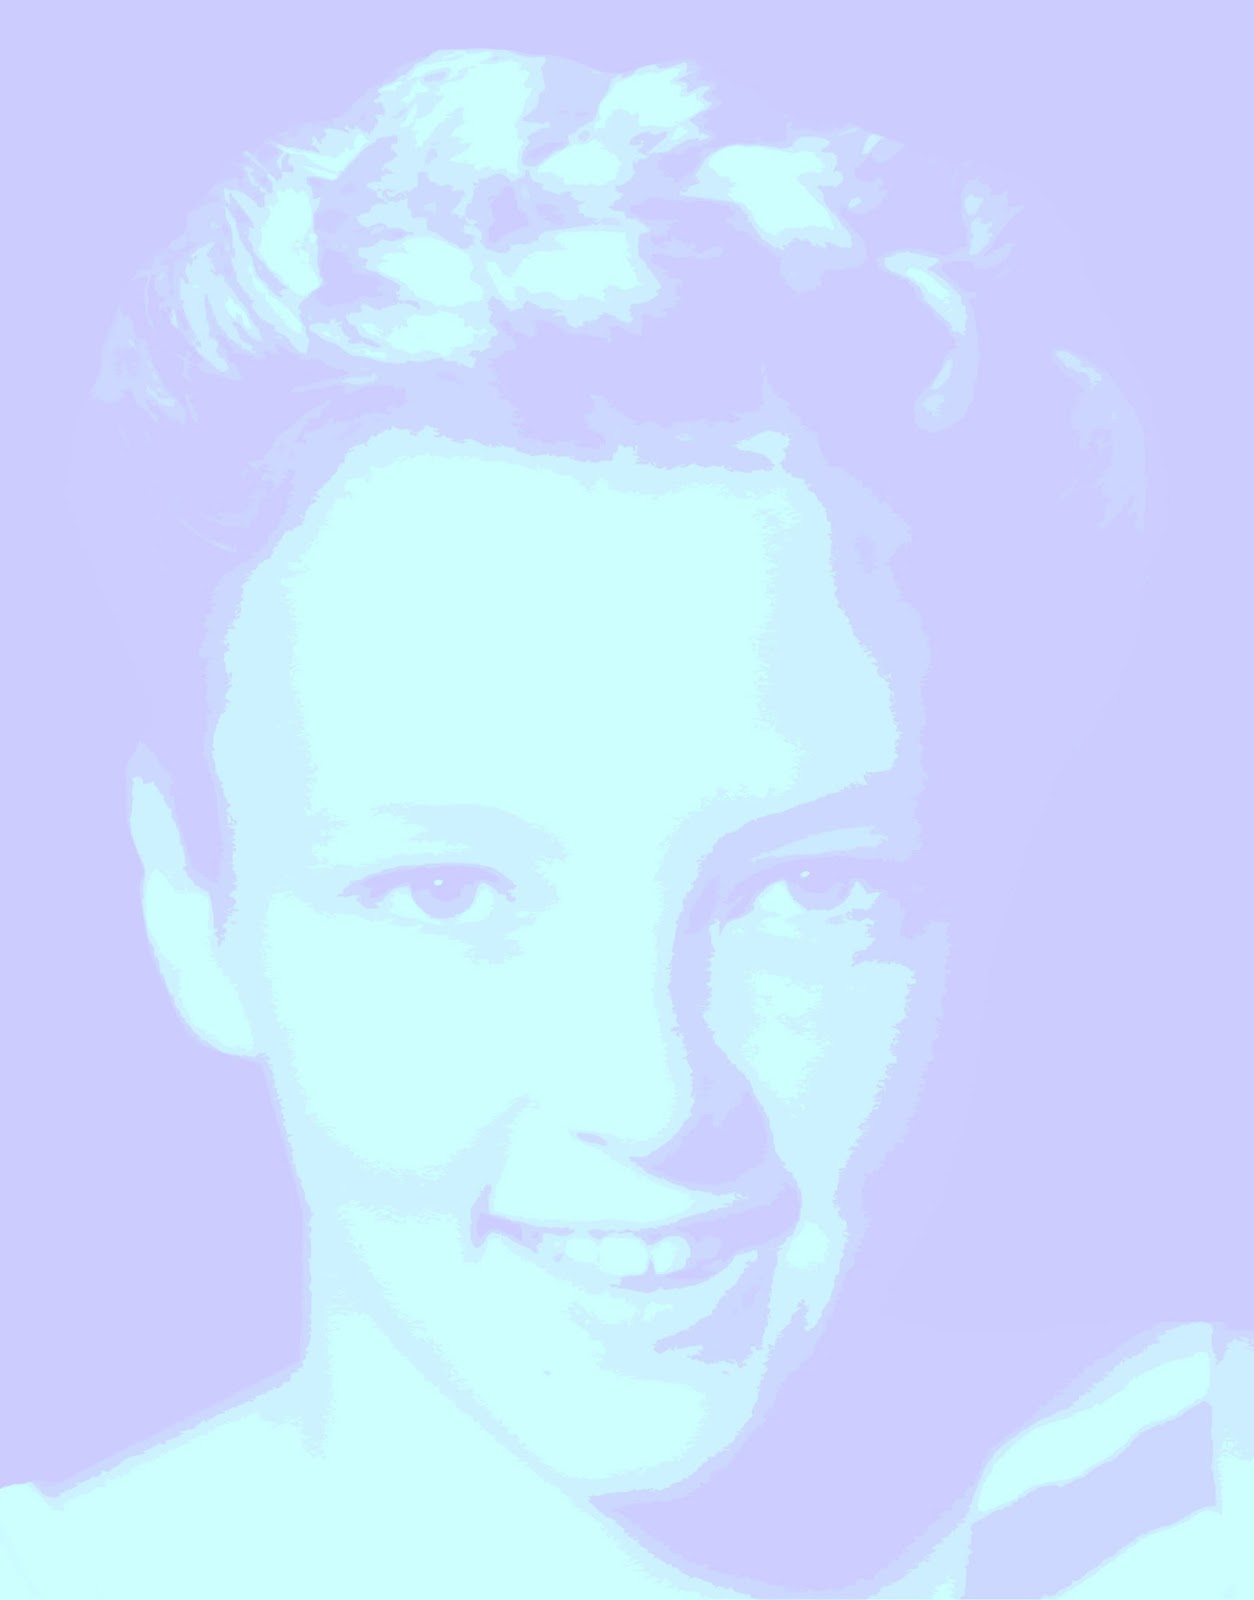
The shades of grey stencil has not only black and white but, you guessed it, grey. It's a bit more complicated to make.
1. Adjust the Brightness/Contrast
- Adjust to your liking
Enhance>Adjust Brightness/Contrast>Brightness/Contrast
2. Apply the Cutout Filter
Filter>Artistic>Cutout 4, 2, 2
3. Adjust the Levels of RGB
- Adjust so that you have black, white and 3-4 shades of grey.
Enhance>Adjust Brightness/Contrast>Levels
4. Re-apply the Cutout Filter to refine the edge simplicity to 4
5. If desired, Re-adjust the levels of RGB to reduce the shades of grey.
5. If desired, Re-adjust the levels of RGB to reduce the shades of grey.
 |
| Shades of Grey Stencil |
Create New Fill or Adjustment Layer vs Create a New Layer
New Fill Layers or Adjustment Layers are more flexible than plain old new layers because they provide you with a layer mask thumbnail that you may (or may not) choose to use.
In the next three examples, I ignored the layer mask thumbnail that was provided for me because I didn't need it.
Create New Fill Layer (thumbnail ignored)
I played around with the adding New Fill Layers ABOVE the photo and here are just a few of an infinite number of possible screenprints.
I added three new separate New Fill Layers in orange, yellow, and red and put each layer in Overlay Mode with 100% Opacity above the photo.
 |
| Overlay Mode is effective |
Here I added a New Fill Layer>Gradient in pink above the photo.
 |
| Gradient Adjustment Layer |
Here's where I added two New Fill Layers>Solid Colour in pink, Screen Mode, and blue, Multiply Mode above the photo.
 |
| Screen and Multiply Mode on Solid Layers |
Lastly, I wanted to experiment with Layer Masking. This is where you paint while in the layer mask thumbnails. When you paint with black paint you "erase" what's below and painting with white puts it back in.
Create New Fill Layer (thumbnail used)
Here I added a New Fill Layer>Solid Colour in pink, Blend Mode: Multiply above the photo.
While in the layer mask thumbnail, I painted over the eyes and teeth with black paint so that the pink was "erased".
 |
| White teeth and eyes |
Lasty, I selected the layer mask thumbnail and used the special effects brush "Scattered Roses" to paint in the roses on the background.

I could play with this all day!
Wait a minute!
That is what I'm doing!
No comments:
Post a Comment