Friday, May 3, 2013

Sketch Guru App is a Lot of Fun

I just discovered the SketchGuru App for Android. It's free at the Google Play Store. After you select any of the suggested cropping formats, there are nine different sketches you can choose. I did these on my tablet. It's easier and faster than Photoshop!

I'd love to put Water Colour 2 on a silk scarf.

Crayon really does look like a crayon!


original


Gouache


Pencil Sketch


Colour Pencil


Colour Pencil 2


Crayon


Water Colour


Water Colour 2


Engraving
Halftone

Tuesday, April 30, 2013

Painting the Tulip Yellow This Time

Here is a photo of a "blown" tulip that I think is interesting. This is one of those varieties of tulips that have a tendency to open up wide in the morning (especially in a warm room in a vase) and then close at night. Also, did you know that cut tulips can "grow" as much as 2 inches in a vase?

Of course it was just begging to be photoshopped.

original

Here is the watercolour painting technique shown step-by-step.

The "watercolour painting technique" is:
  • duplicate the background layer 3 times
  • to first layer, filter>artistic>cutout>4, 4, 2 luminosity
  • to second layer, filter>artistic>dry brush>10, 10, 3 screen
  • to third layer, filter>noise>median 12 soft light
Layer 1:

filter>artistic>cutout>4, 4, 2 luminosity

Layer 2 added:

filter>artistic>dry brush>10, 10, 3 screen

The addition of Layer 3 gives you the finished "watercolour painted" product:

filter>noise>median 12 soft light


Here is what Fresco looks like:

filter>artistic>fresco>2, 8, 1


Here is what Rough Pastel (my personal favourite) looks like. There are many variables in Rough Pastel so it took a long time to get just the right look.

filter>artistic>rough pastels, stroke length 1, stroke detail 12, texture sandstone, scaling 100%, relief 10

Painting the Tulips Red

The tulips look gorgeous just the way they are, but I wondered what would happen if I used the "watercolour painting technique" and other filters.

The "watercolour painting technique" is:
  • duplicate the background layer 3 times
  • to first layer, filter>artistic>cutout>4, 4, 2 luminosity
  • to second layer, filter>artistic>dry brush>10, 10, 3 screen
  • to third layer, filter>noise>median 12 soft light

original

watercolour painting technique


Here is a close up of a tulip with one petal opening past what is our normal image of tulips. I think tulips past their prime are very interesting.
original

watercolour painting technique


Here the tulips are reaching towards the sun in the west which is streaming through them. It already looks like a watercolour painting.
original

watercolour painting technique

Here is where I used the actual "watercolour" filter.
artistic>filter>watercolour>brush detail 14

Of course, I had to see what it would look like posterized.
image adjustments>posterize>level 10

Tuesday, April 23, 2013

Tulip "Painting"

It took me a while but I turned this:


into this:


  • Crop image
  • Isolate tulips from background
  • Add a solid black fill layer on top
  • Clean up by erasing the white pixels that show up after you add the black background
  • Apply Filter>Artistic>Watercolour
  • Paint in the rainbow and run the smudge tool over it


Then I thought I'd go a little further and this is what happened.


  • Apply Filter>Artistic>Dry Brush 10, 1, 1
This looked pretty good but there were a lot of tiny little white dots around the outlines of the tulips and vase, so I zoomed in on them and used the Smudge Tool set on Natural Brushes>Dry Brushes to "smudge" over them.
  • Cleanup image by using the Smudge Tool
Why stop at the edges only? I ended up smudging where ever it looked like it needed it, mostly where there were a lot of jagged looking pixels. I felt like I was painting!

The Smudge Tool is my new best friend!

A Couple of Hours in Gastown

I needed to return a book to the Vancouver Public Library (VPL) and while I could have returned it via the Fraser Valley Library System, it was a good excuse to visit Vancouver.

I should have taken the Canon EOS Rebel T3i but I made do with the little rugged Nikon Coolpix and it did a pretty good job.


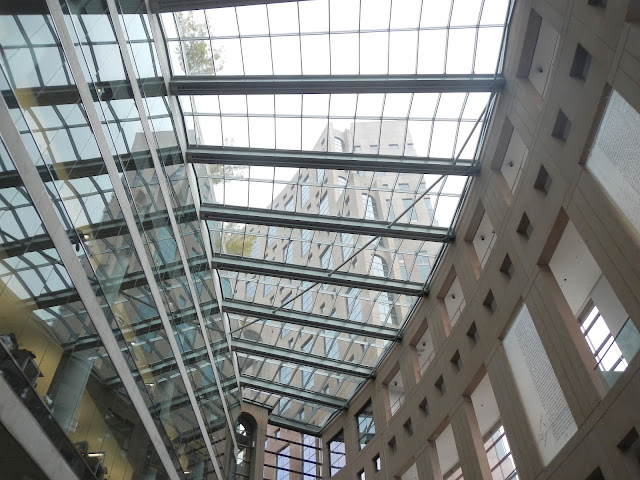
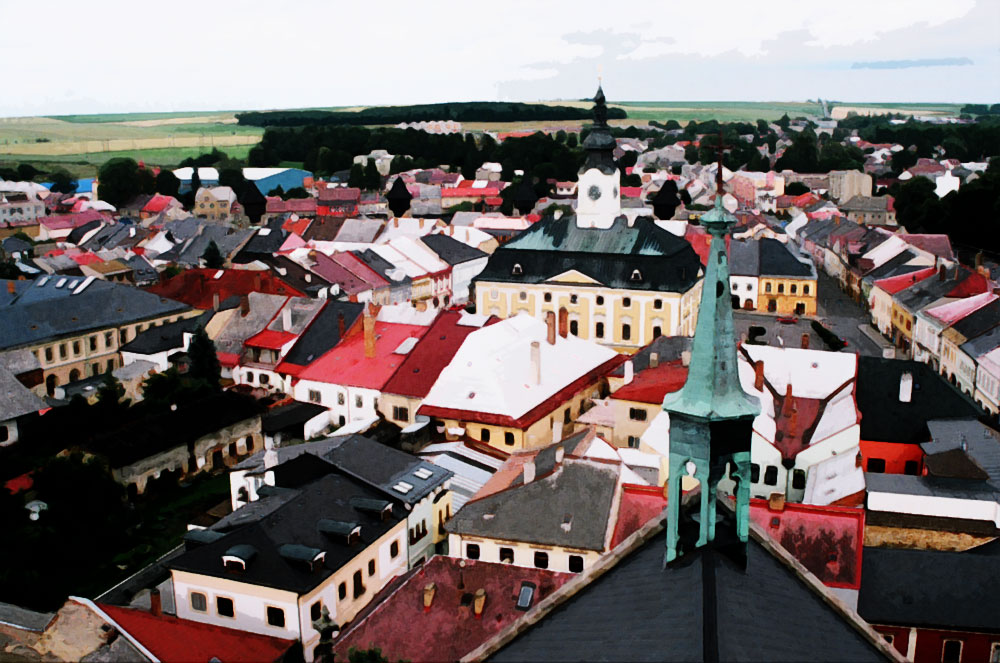
Iconic curved roof line of VPL meets glass—a lot of glass
I noticed some text in the windows above me and zooming in discovered a hugely-enlarged page from John Milton's Paradise Lost complete with study notes scribbled all over it. I don't think they mean to encourage that to happen to their library books.

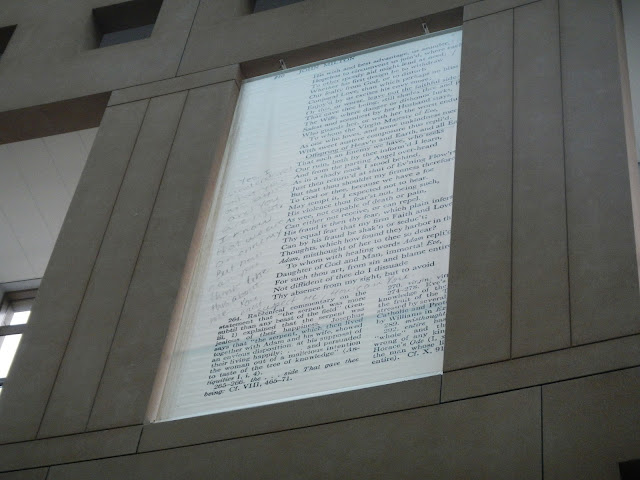
Zooming in on Paradise Lost


We walked by the firehall and I'm glad I turned around.

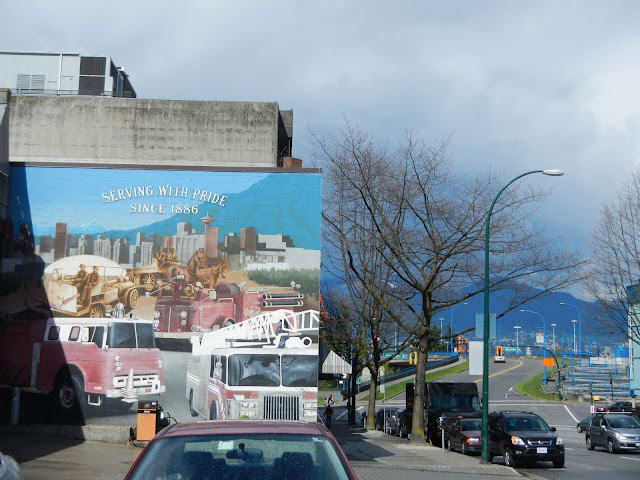
I didn't notice until now the matching mountain in the mural

There were signs of gentrification everywhere I looked.

gen·tri·fi·ca·tion
 [jen-truh-fi-key-shuhn]
noun
1.
the buying and renovation of houses and stores in deteriorated urban neighborhoods by upper- or middle-income families or individuals, thus improving property values but often displacing low-income families and small businesses.
2.
an instance of gentrifying; the condition of being gentrified.

Origin:
1975–80; gentri(fy) + -fication


Here is a condo/apartment building on the site of Woodwards Department Store.

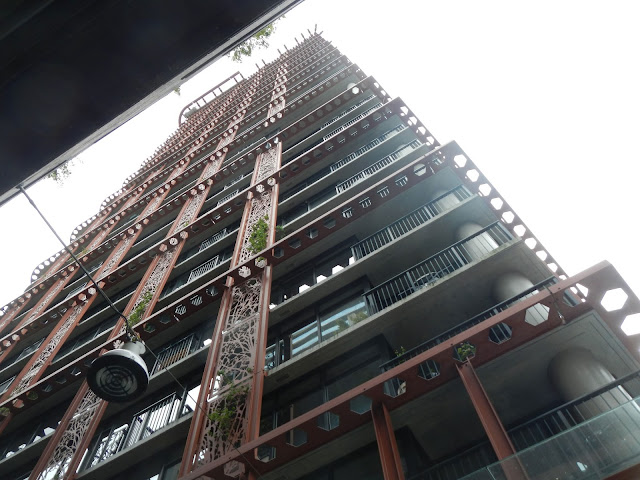
The sky was white due to the rain


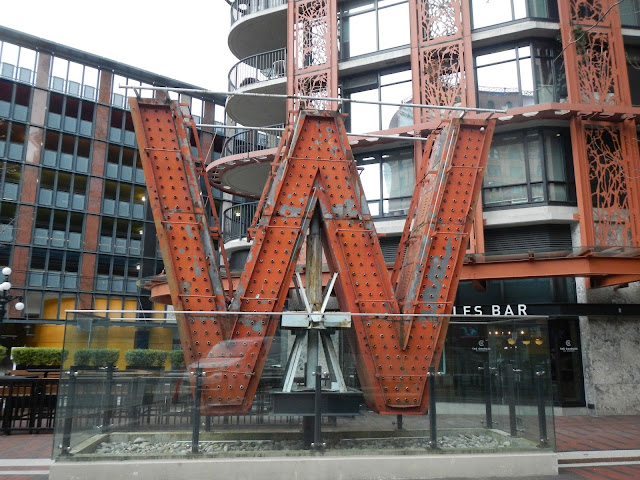
What's left of Woodwards
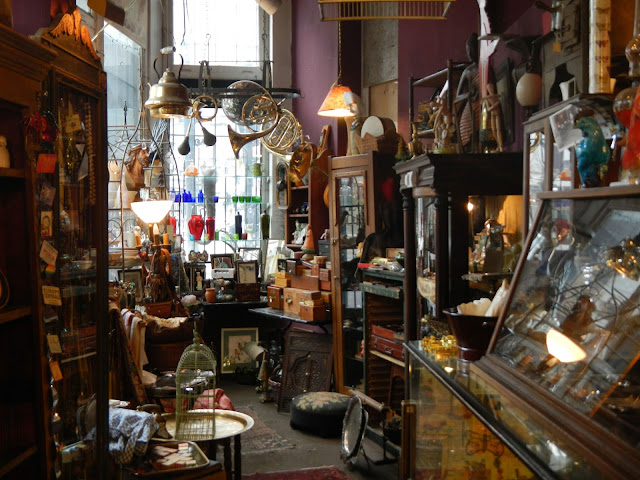
This has got to be the ultimate curio shop. It's called Salmagundi West and I dare you to enter. It's so deliciously creepy.

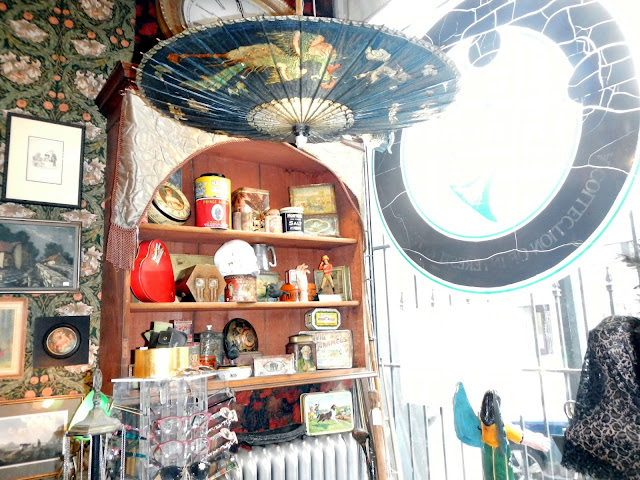
The sun came out just as we entered which made it seem a little less scary
I'm reluctant to photoshop the brightness out (even if I knew how)


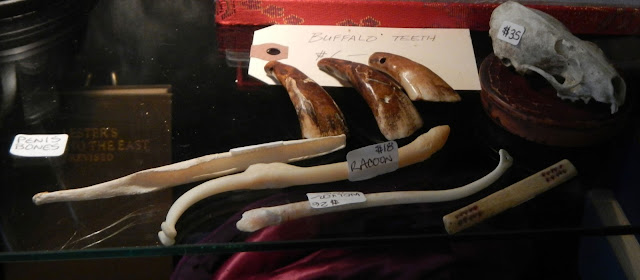
I didn't know that penises (or is the plural penii?) had bones


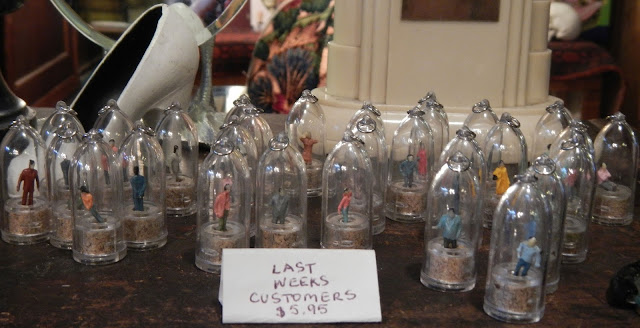
The proprietor encouraged photography but I asked just to make sure I didn't end up here
 

This photo reminds me of the children's picture books where you're supposed find hidden objects

There was so much to see in this most curious of curio shops and I'm definitely going back, next time with the Canon.

Maybe next time I won't be so creeped out but wait a minute, that was the fun of it!


I couldn't leave Gastown without a stop at one of my favourite places.

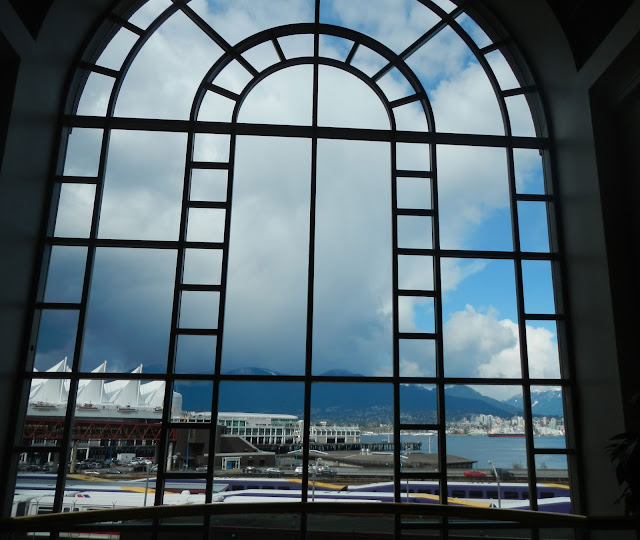
I admire the architect's vision to put a window here and that they share it with passersby


Thursday, April 18, 2013

Imitation Landscape Sketch or Hey! I'm a Pretend Artist!

Here's how I turned this:

Policka, Czech Republic 2007

into this:

1. Duplicate Background (as usual)

2. Remove Colour
Image>Adjustments>Gradient Map>Black and White

3. Duplicate Layer

4. Invert Image
Image>Adjustments>Invert

5. Select Blend Mode: Colour Dodge (screen will turn white)

6. Filter>Other>Minimum>1 pixel

Note: Filter>Blur>Gaussian Blur>12 pixels (6-12 pixels work best) is done instead of the above step if you're "sketching" a portrait.

7. Merge layers to a new layer by:
  • (Alt+Shft+Ctrl+E) which is the shortcut, or
  • Layers>Merge to a new layer while depressing Alt key
To Add Colour:

8. Duplicate background layer

9. Move background layer above all others

10. Select Blend Mode: Colour, 50%
I love the dark outlines

Instant Watercolour Painting

Here's how to turn this:

At the Smithsonian Flight Museum, Washington, DC
into this:

Little Butch


Open the photo (will be background).

Duplicate the photo (i.e. the background layer) 3 times.

On the first layer (from the bottom):

Filter>Artistic>Cutout, 4, 4, 2
Blend Mode: Luminosity

layer 1
On layer 2:

Filter>Artistic>Dry Brush, 10, 10, 3
Blend Mode: Screen
layer 2 (including layer 1)
just for fun here's what layer 2 looks like by itself
On layer 3:

Filter>Noise>Median>12 pixels
Blend Mode: Soft Light

Note: make all the layers visible to achieve the end result


Instant Watercolour Painting
I was having so much fun. Here's another one I did.

Beautiful BC Mountains
Just one more:

view from the tower in Policka
Policka, Czech Republic
I noticed the clouds disappeared so I may need to tweak some settings.
Clouds are back (I used cutout filter 8,4,2 instead of 4,4,2)